Last updated: June 13, 2026
By Home Repair Genie
Quick Answer
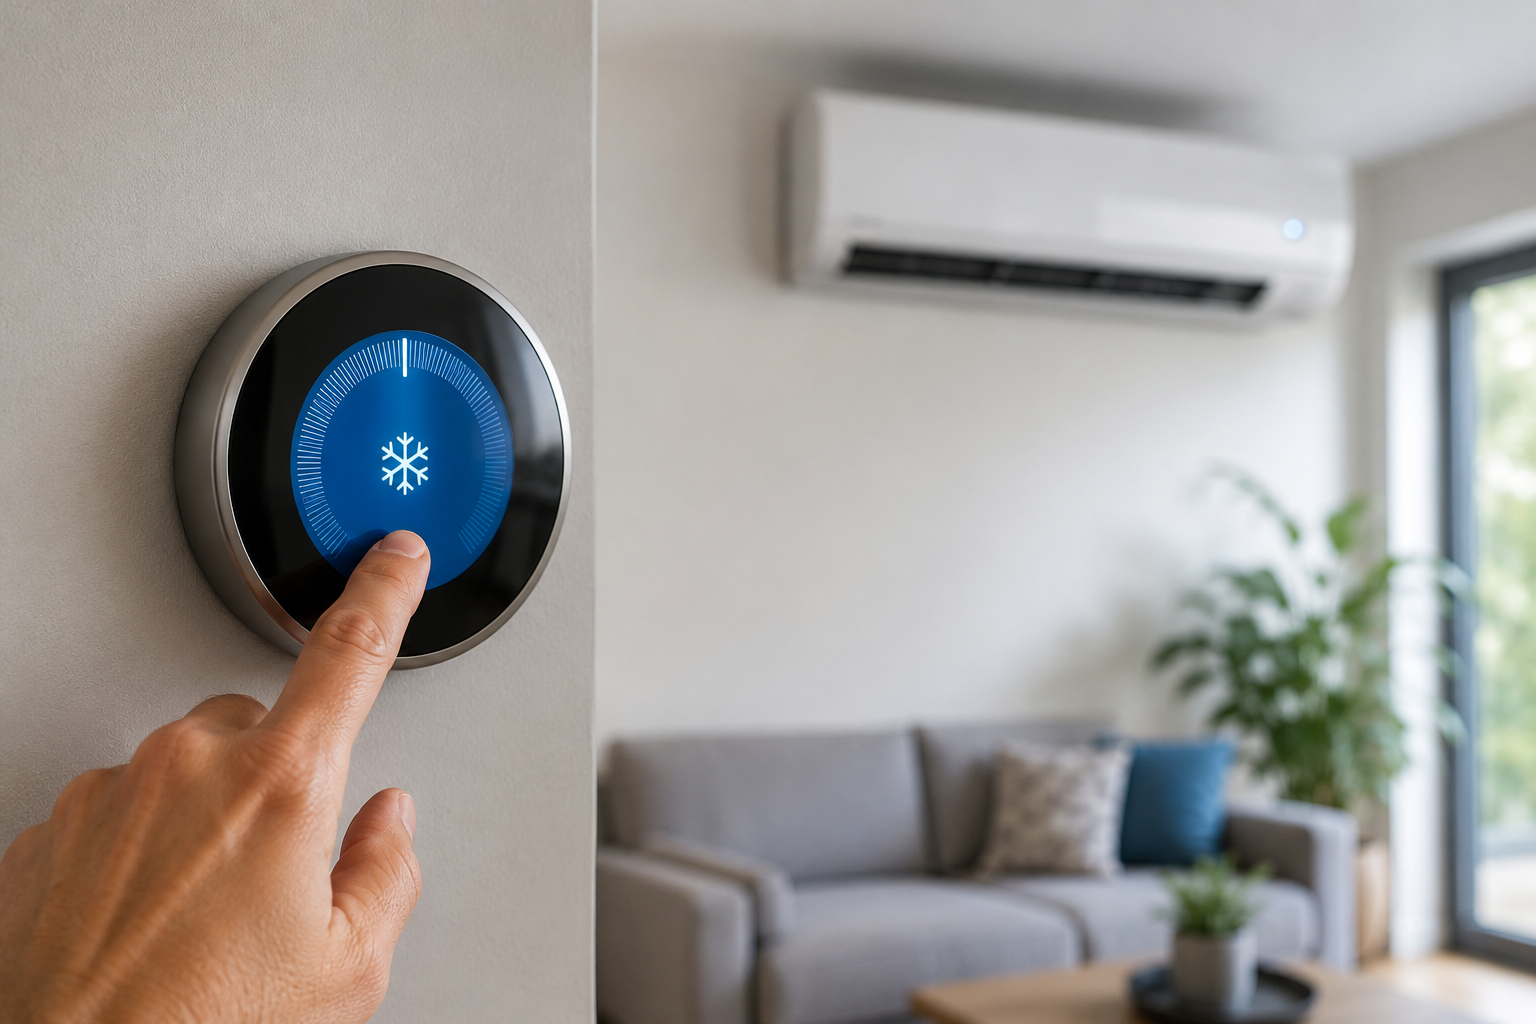
If your AC not cooling below 75 degrees issue has you frustrated, several common problems could be reducing your system’s cooling capacity. Dirty filters, restricted airflow, refrigerant issues, and thermostat problems are among the most common causes. Start by checking airflow restrictions and thermostat settings before moving on to more advanced HVAC troubleshooting.
Why Is My AC Not Cooling Below 75 Degrees?
When an air conditioner runs continuously but cannot cool your home below 75°F, it usually means the system is either losing cooling capacity or facing conditions that prevent efficient operation.
The problem may be simple maintenance-related or indicate a mechanical issue requiring professional service.
Check the Thermostat Settings
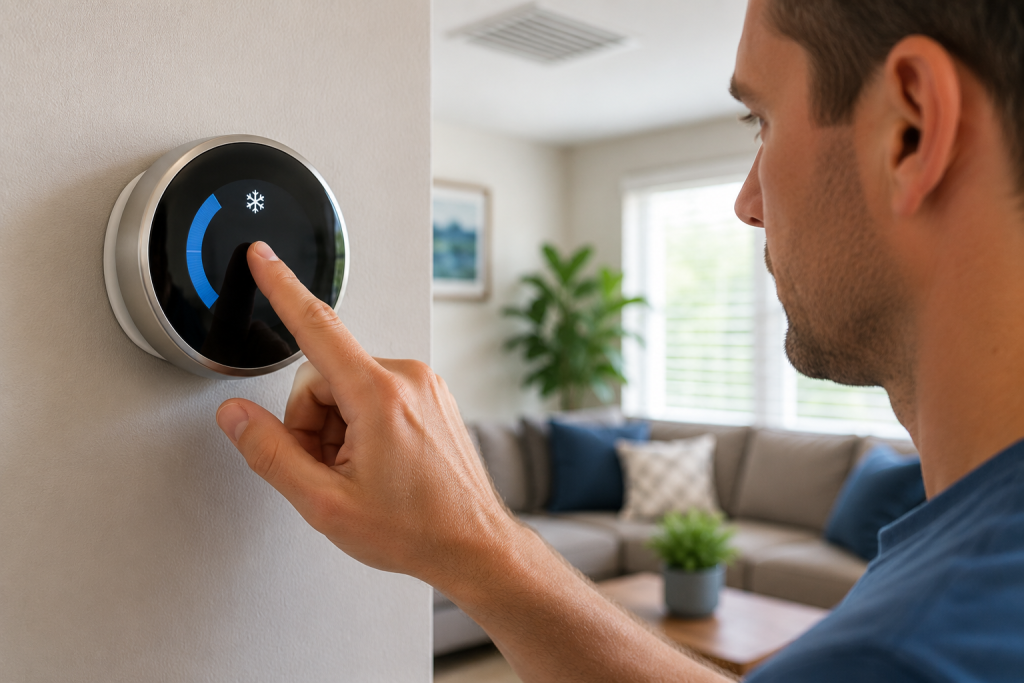
Step 1: Verify Cooling Mode
Make sure the thermostat is set to “Cool” rather than “Fan” or “Auto.”
Step 2: Lower the Temperature Setting
Set the thermostat several degrees below the current room temperature.
Step 3: Replace Thermostat Batteries
Weak batteries can cause inaccurate readings and improper system operation.
For additional electrical troubleshooting, see our guide on AC Fan Not Spinning.
Replace a Dirty Air Filter
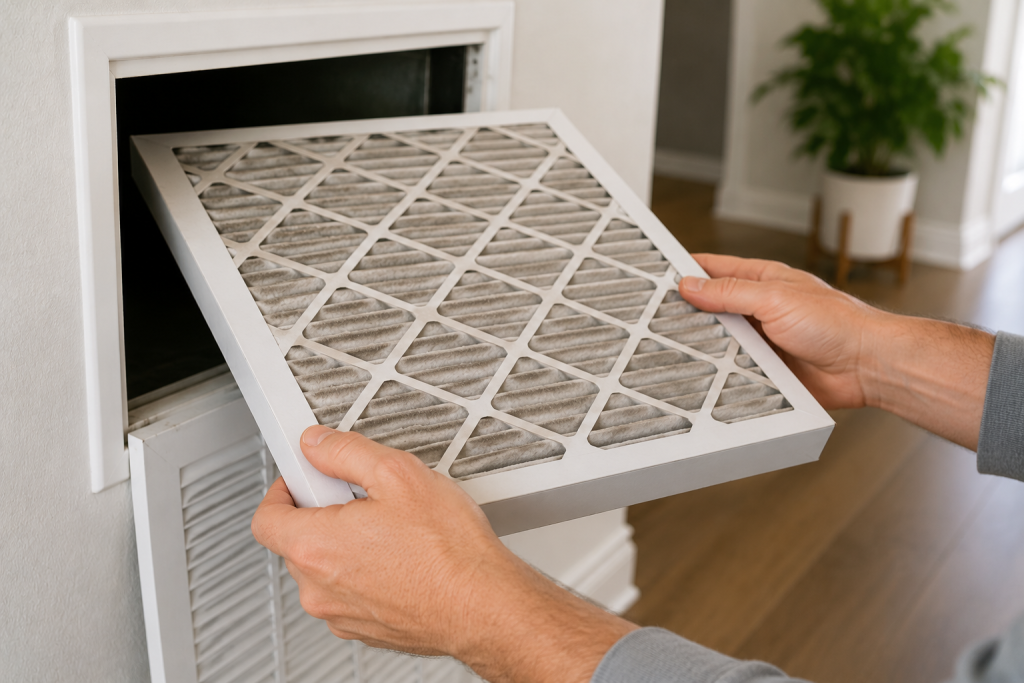
Step 1: Locate the Filter
Check the return air grille or air handler for the system filter.
Step 2: Inspect for Dirt and Debris
A clogged filter restricts airflow and reduces cooling performance.
Step 3: Install a New Filter
Replace disposable filters according to manufacturer recommendations.
A dirty filter is one of the most common reasons behind an AC not cooling below 75 degrees.
Inspect the Outdoor Condenser Unit
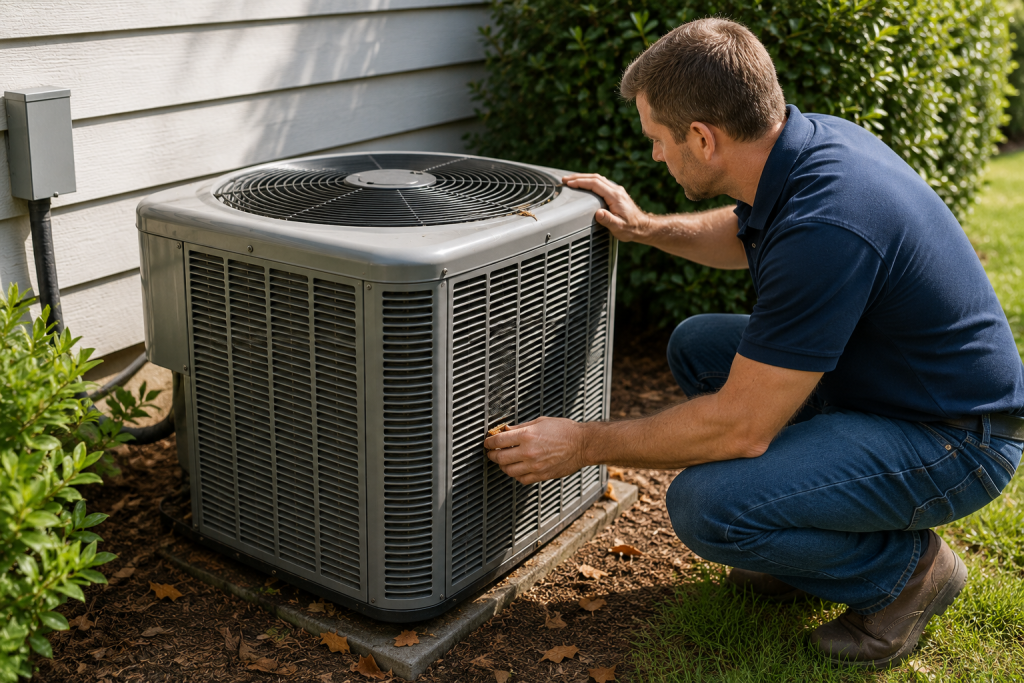
Step 1: Turn Off Power
Shut off power to the outdoor unit before cleaning.
Step 2: Remove Debris
Clear away leaves, grass clippings, weeds, and dirt.
Step 3: Restore Proper Clearance
Maintain at least two feet of open space around the condenser.
Blocked airflow prevents the system from releasing heat effectively.
Clean the Condenser Coils
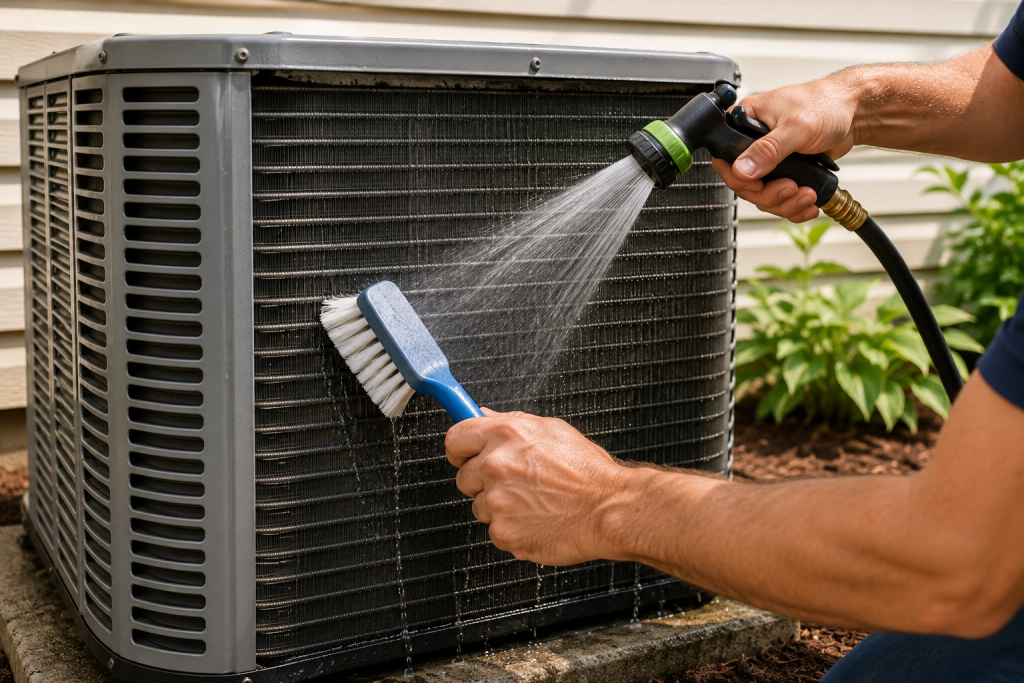
Step 1: Remove the Access Panel
Follow the manufacturer’s instructions.
Step 2: Clean Dirt From the Fins
Use a garden hose with gentle pressure.
Step 3: Straighten Bent Fins
A fin comb can improve airflow through damaged coil sections.
Dirty coils can significantly reduce cooling efficiency.
Check for Frozen Evaporator Coils
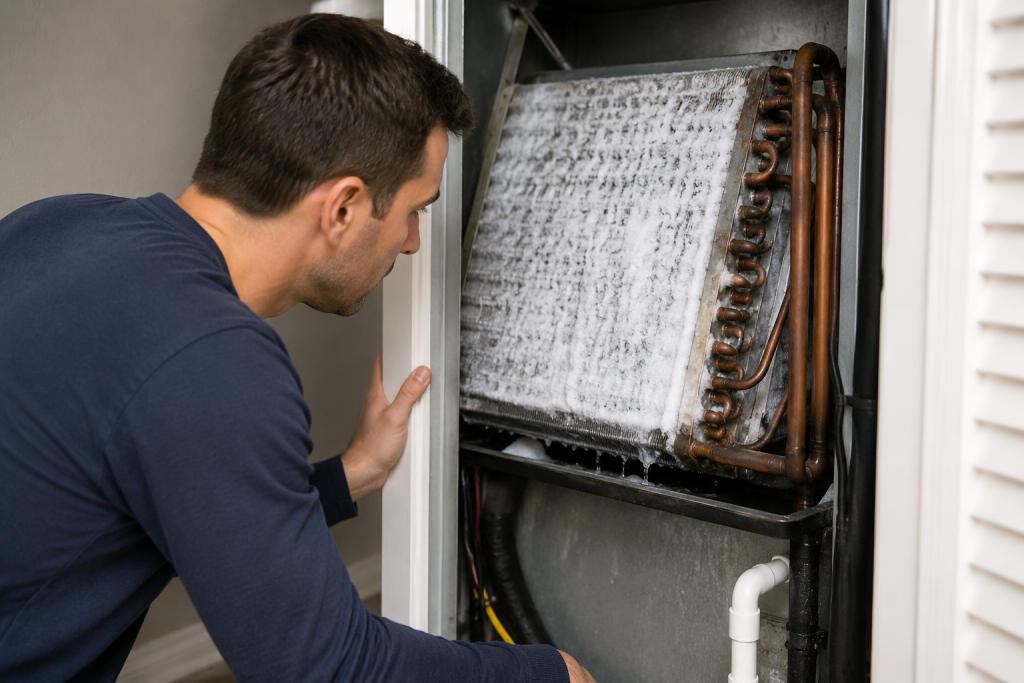
Step 1: Inspect the Indoor Unit
Look for frost or ice buildup on refrigerant lines or coils.
Step 2: Turn Off Cooling
Allow the system to thaw completely.
Step 3: Identify the Cause
If your AC not cooling below 75 degrees and ice is forming on the evaporator coil, restricted airflow or low refrigerant may be responsible.
Frozen coils often result from:
- Dirty filters
- Restricted airflow
- Low refrigerant
- Blower motor issues
You may also find our guide on AC Blowing Warm Air helpful.
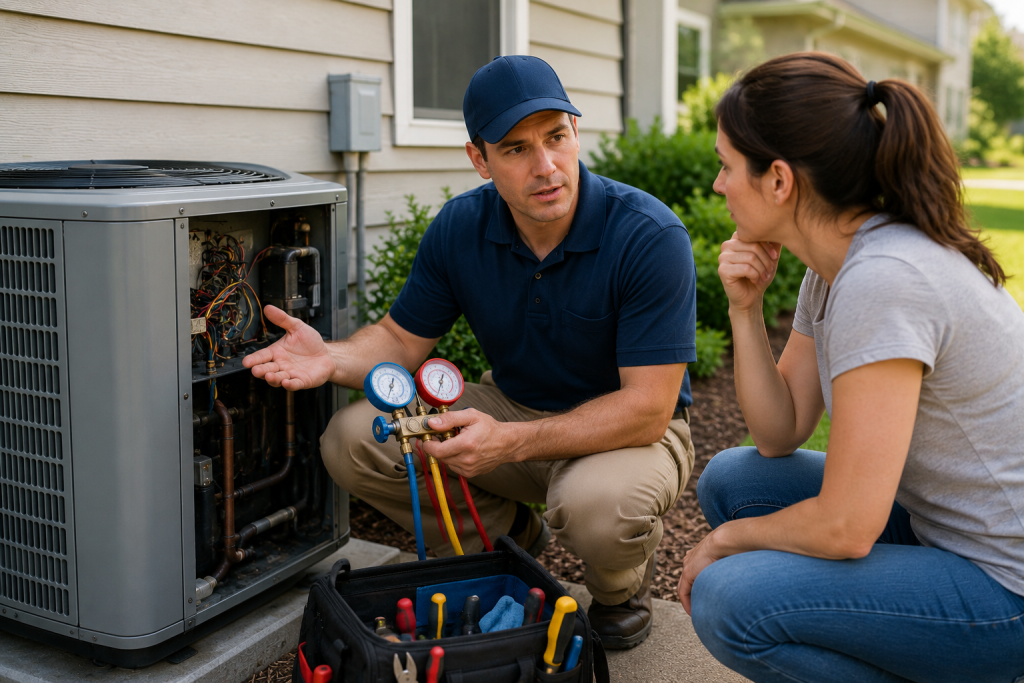
Examine the Refrigerant System
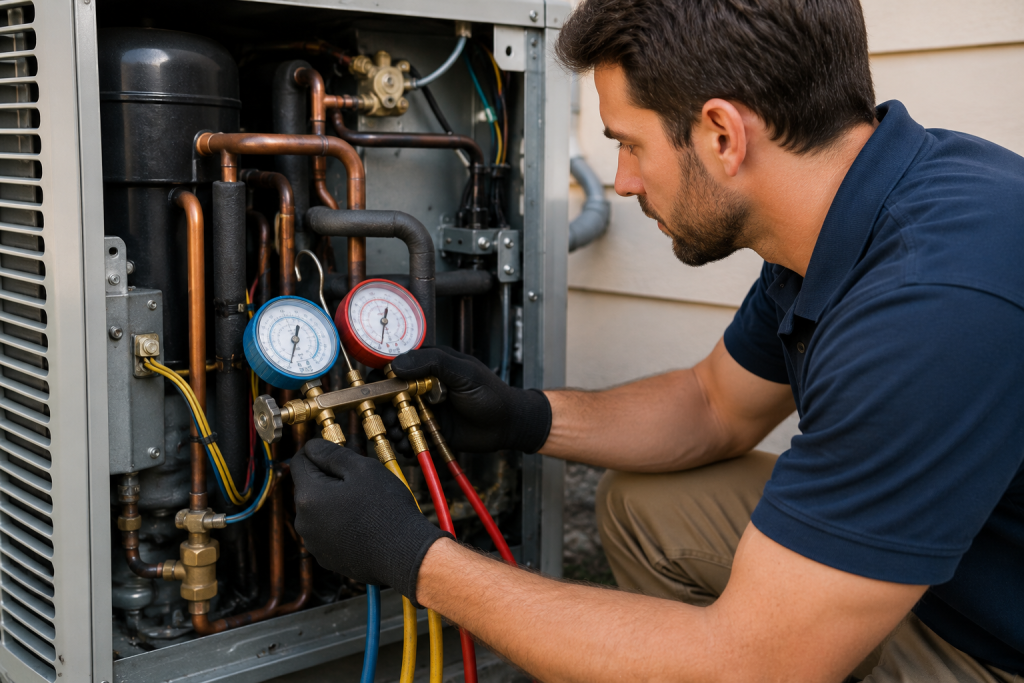
Step 1: Look for Warning Signs
Low refrigerant is another common reason an AC not cooling below 75 degrees despite running continuously.
Low refrigerant often causes:
- Poor cooling performance
- Ice buildup
- Extended run times
- Higher energy bills
Step 2: Listen for Hissing Sounds
Leaks may create audible hissing near refrigerant lines.
Step 3: Contact an HVAC Professional
Refrigerant diagnosis and charging require specialized equipment and certification.
Inspect Air Vents and Registers
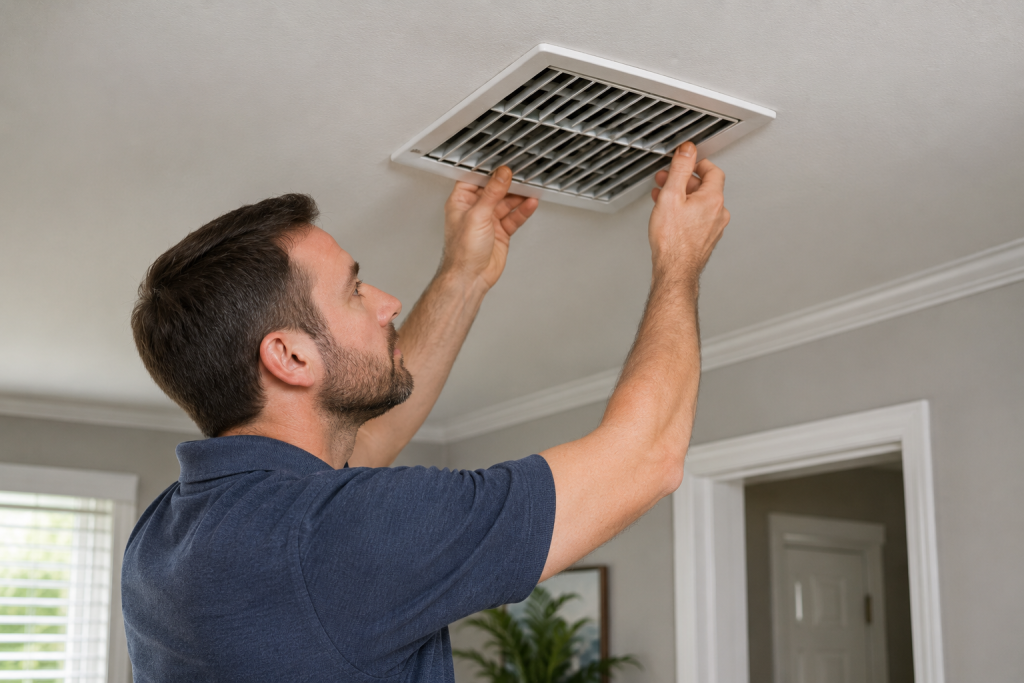
Step 1: Verify Vents Are Open
Ensure all supply vents remain fully open.
Step 2: Remove Obstructions
Furniture, rugs, and curtains can block airflow.
Step 3: Check Return Air Grilles
Dirty return grilles restrict airflow throughout the home.
Poor airflow can make it seem like the AC is underperforming even when operating correctly.
Consider Outdoor Temperatures
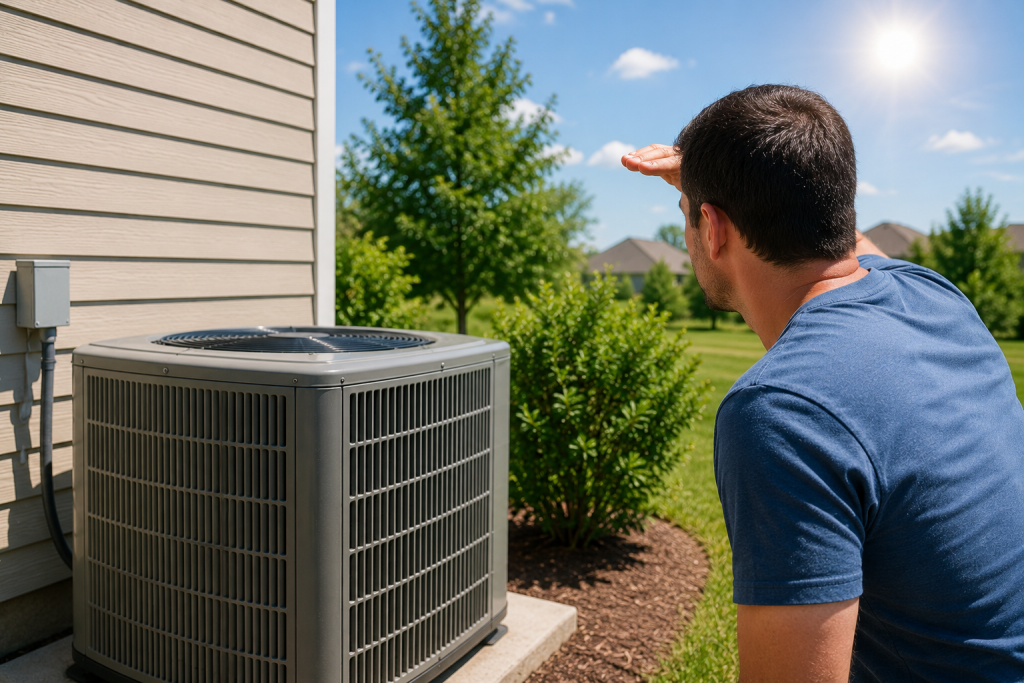
Step 1: Evaluate Weather Conditions
Most residential air conditioners are designed to maintain indoor temperatures approximately 15 to 20 degrees cooler than outdoor temperatures. During extreme heat waves, an AC not cooling below 75 degrees may simply be reaching the limits of its design capacity.
Step 2: Monitor Peak Afternoon Heat
During extremely hot weather, some systems may struggle to cool below 75°F.
Step 3: Compare Evening Performance
If cooling improves significantly after sunset, extreme outdoor temperatures may be contributing to the issue.
According to Energy Saver by the U.S. Department of Energy, proper maintenance and airflow are critical for maximizing air conditioner efficiency.
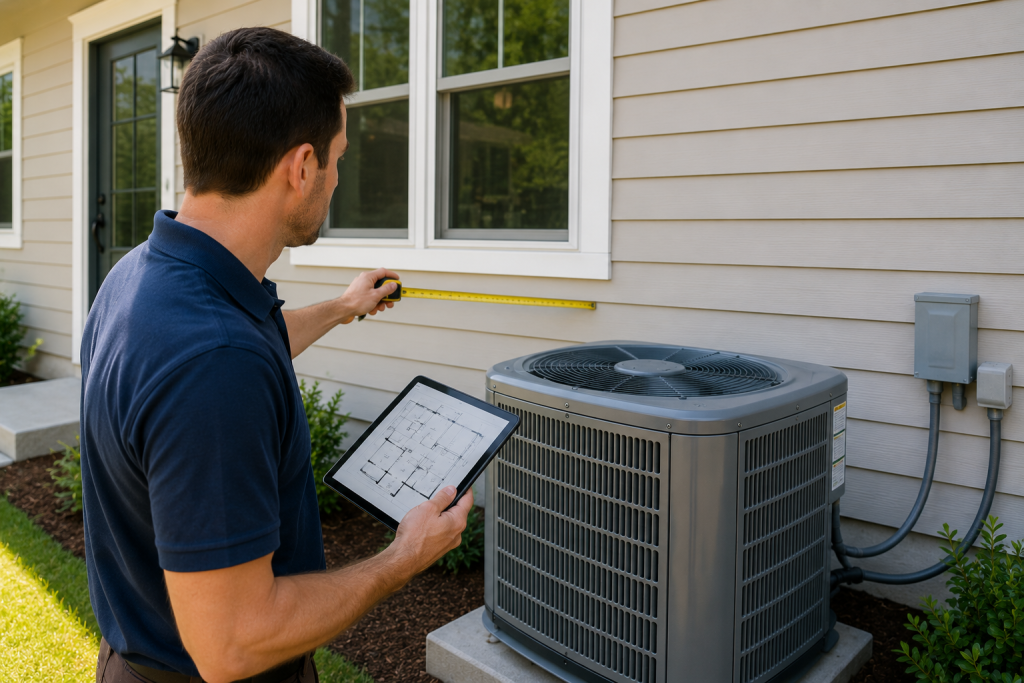
Determine Whether the System Is Properly Sized
Step 1: Review Cooling History
Has the home always struggled to stay below 75°F?
Step 2: Consider Recent Home Changes
New windows, room additions, or increased insulation needs can affect cooling requirements.
Step 3: Schedule a Load Calculation
An HVAC contractor can perform a Manual J load calculation to determine whether the system is appropriately sized.
When to Call an HVAC Professional
Step 1: Rule Out Basic Maintenance Issues
Check filters, vents, thermostat settings, and condenser cleanliness.
Step 2: Monitor System Operation
Watch for freezing, unusual noises, or constant running.
Step 3: Schedule Professional Service
Call an HVAC technician if:
- The AC runs continuously
- Ice forms on the system
- Refrigerant leaks are suspected
- Cooling performance continues to decline
Frequently Asked Questions
Why is my AC not cooling below 75 degrees?
The most common causes are dirty air filters, restricted airflow, dirty coils, refrigerant problems, thermostat issues, or extreme outdoor temperatures.
Is it normal for an AC to struggle on very hot days?
Yes. During extreme heat, some systems may have difficulty maintaining temperatures significantly below outdoor conditions.
Can a dirty air filter cause poor cooling?
Absolutely. Restricted airflow reduces efficiency and can even cause evaporator coils to freeze.
How do I know if my AC is low on refrigerant?
Signs include poor cooling, frozen coils, long run times, and hissing sounds near refrigerant lines.
Should I replace my AC if it won’t cool below 75 degrees?
Not necessarily. Many cooling problems can be resolved through maintenance or repairs. Have the system professionally inspected before considering replacement.
Final Thoughts
If your AC not cooling below 75 degrees, start with simple maintenance items such as the air filter, thermostat settings, and condenser cleanliness before pursuing more advanced diagnostics. Dirty filters, blocked airflow, thermostat problems, and dirty condenser coils account for many cooling complaints. If basic maintenance does not restore performance, professional diagnosis can identify refrigerant issues, frozen coils, or equipment sizing problems before they lead to more expensive repairs.