
Last updated: October 15, 2026
By Home Repair Genie
Quick Answer
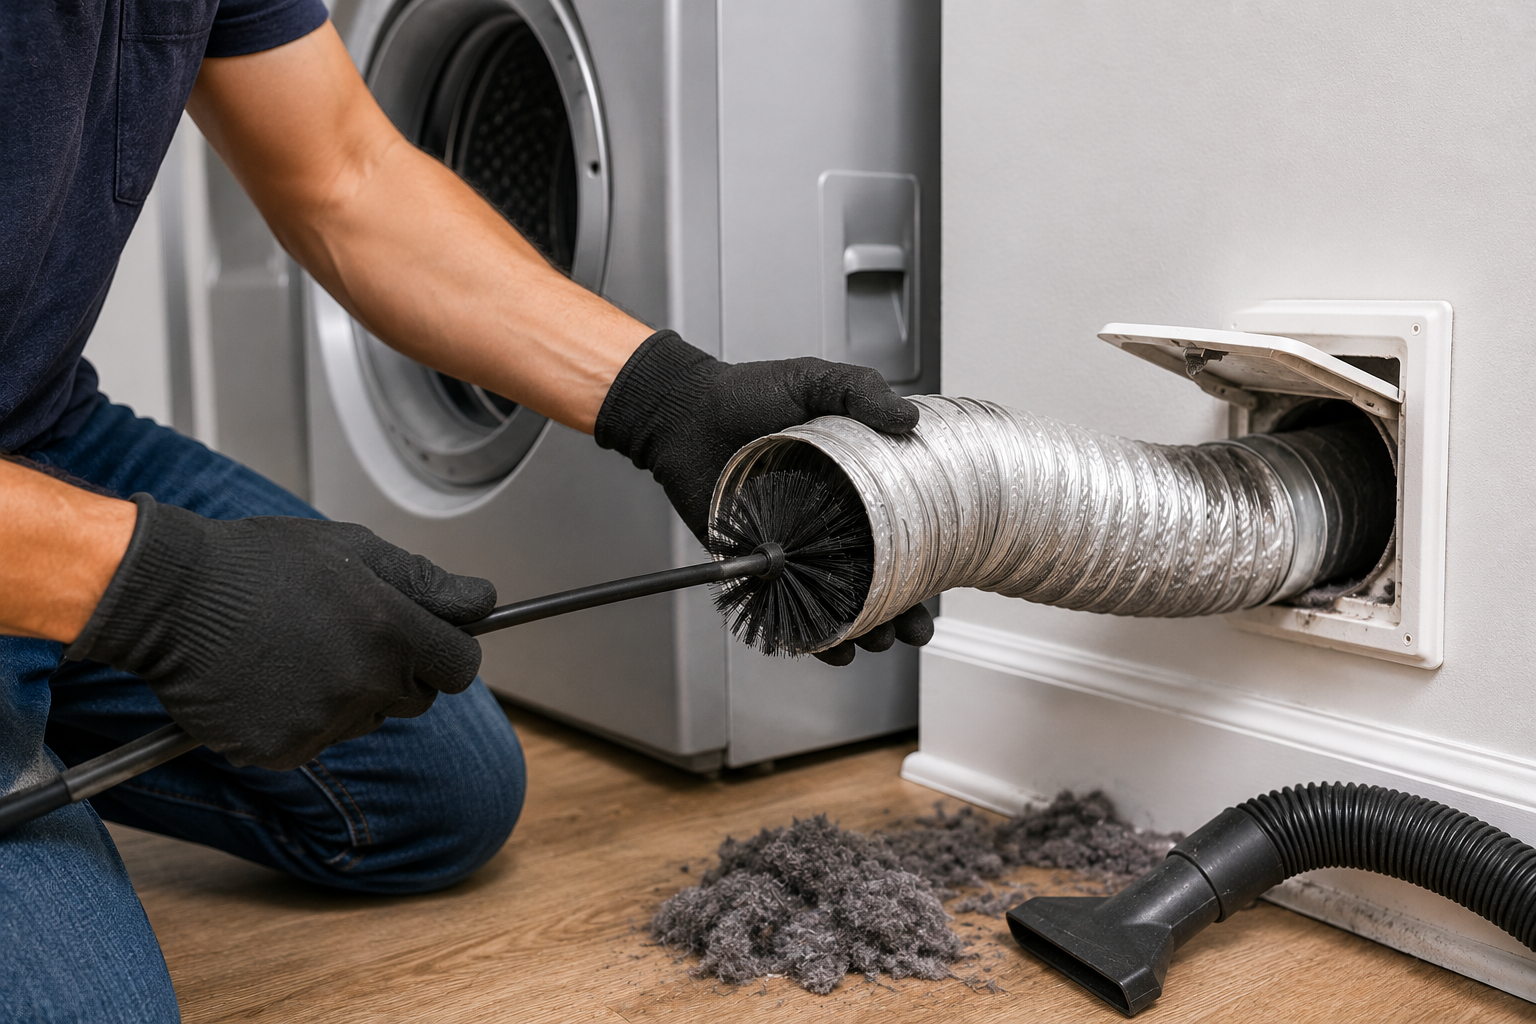
Learning how to clean a dryer vent is one of the most important home maintenance tasks homeowners can perform. A clean vent improves dryer efficiency, reduces drying times, and helps prevent dangerous lint buildup.To clean a dryer vent, unplug the dryer, disconnect the vent hose, remove lint buildup from the vent duct and exterior vent hood, vacuum debris, reconnect the vent, and test the dryer. Cleaning your dryer vent at least once per year improves efficiency, reduces drying times, and helps prevent dryer fires.
Why Learning How to Clean a Dryer Vent Is Important
Your dryer vent removes hot, moist air and lint from the appliance during operation. Over time, lint accumulates inside the vent system, restricting airflow and forcing the dryer to work harder.
A clogged dryer vent can lead to:
- Longer drying times
- Higher energy bills
- Overheating
- Premature dryer wear
- Increased fire risk
According to the U.S. Fire Administration, failure to clean dryers is a leading cause of residential dryer fires. You can learn more through the U.S. Fire Administration Dryer Safety Guide.
Signs Your Dryer Vent Needs Cleaning
Common warning signs include:
- Clothes taking longer to dry
- Dryer becoming unusually hot
- Burning smells during operation
- Excess lint around the dryer
- Weak airflow from the exterior vent
- Repeated dryer overheating errors
If you notice any of these symptoms, it’s time to inspect the vent system.
Tools You’ll Need
Before starting, gather:
As an Amazon Associate I earn from qualifying purchases.
- Vacuum with hose attachment
- Dryer vent brush kit
- Screwdriver
- Work gloves
- Flashlight
- Microfiber cloth
How to Clean a Dryer Vent
Step 1: Disconnect Power to the Dryer
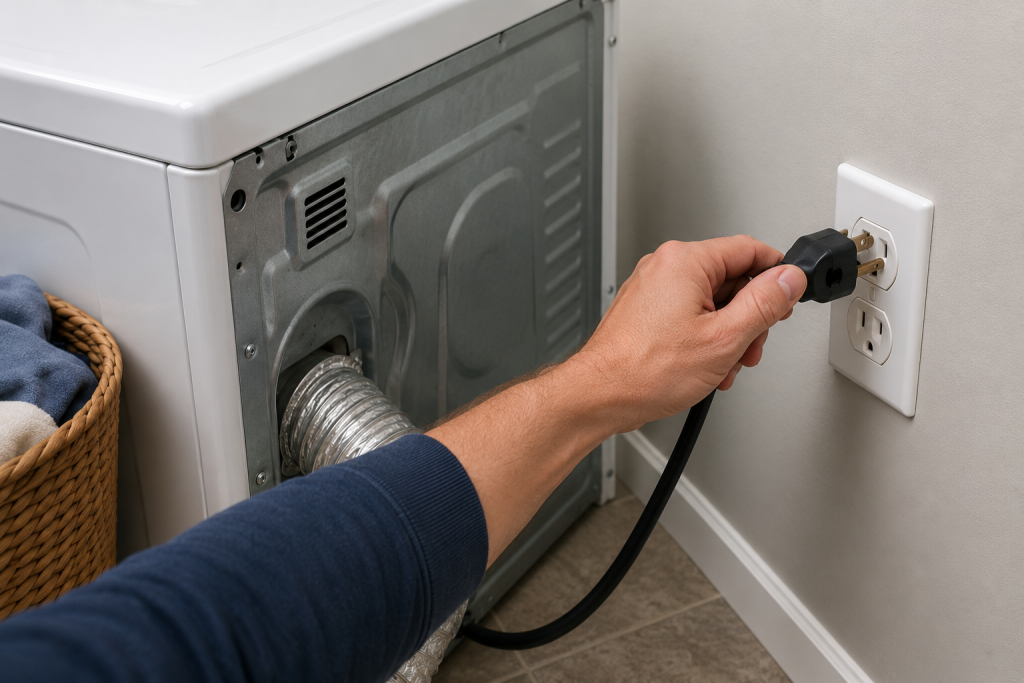
Safety should always come first.
- Turn off the dryer.
- Unplug the power cord.
- For gas dryers, shut off the gas supply valve.
- Carefully pull the dryer away from the wall.
This provides access to the vent connection.
Step 2: Disconnect the Vent Hose
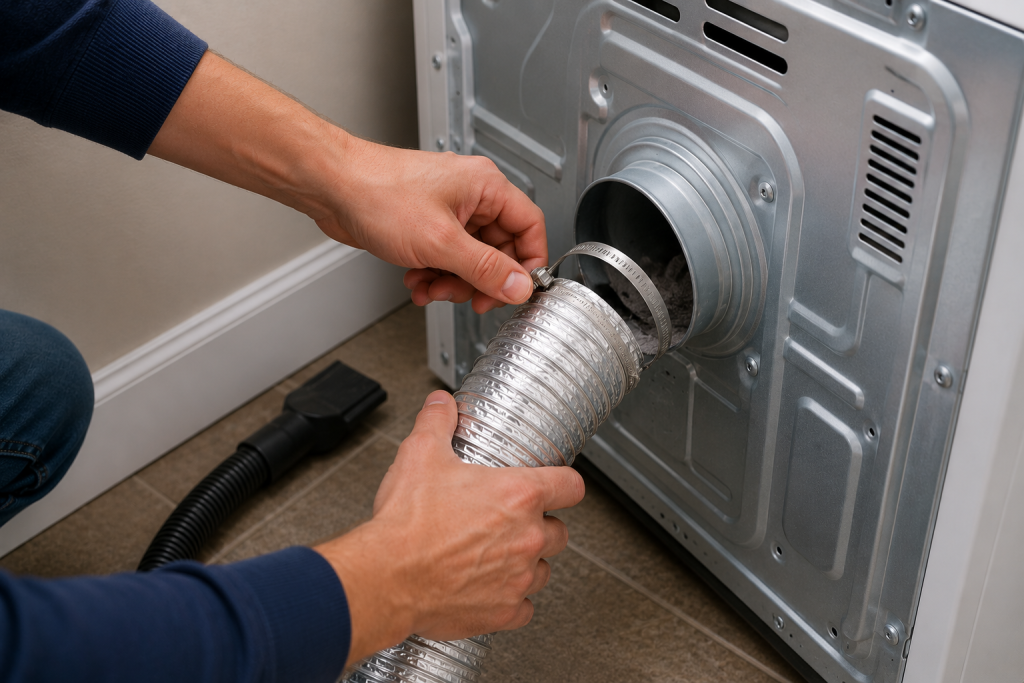
Most dryers connect to a flexible vent hose.
- Locate the hose clamp.
- Loosen the clamp with a screwdriver.
- Carefully remove the vent hose.
- Inspect the hose for damage or excessive lint buildup.
If the connector behind the dryer is crushed, torn, or damaged, replace it with a semi-rigid metal dryer transition duct approved for your installation. Check your dryer’s instructions, choose the correct diameter, and keep the connection short and free of sharp bends.
Step 3: Remove Lint from the Vent Hose
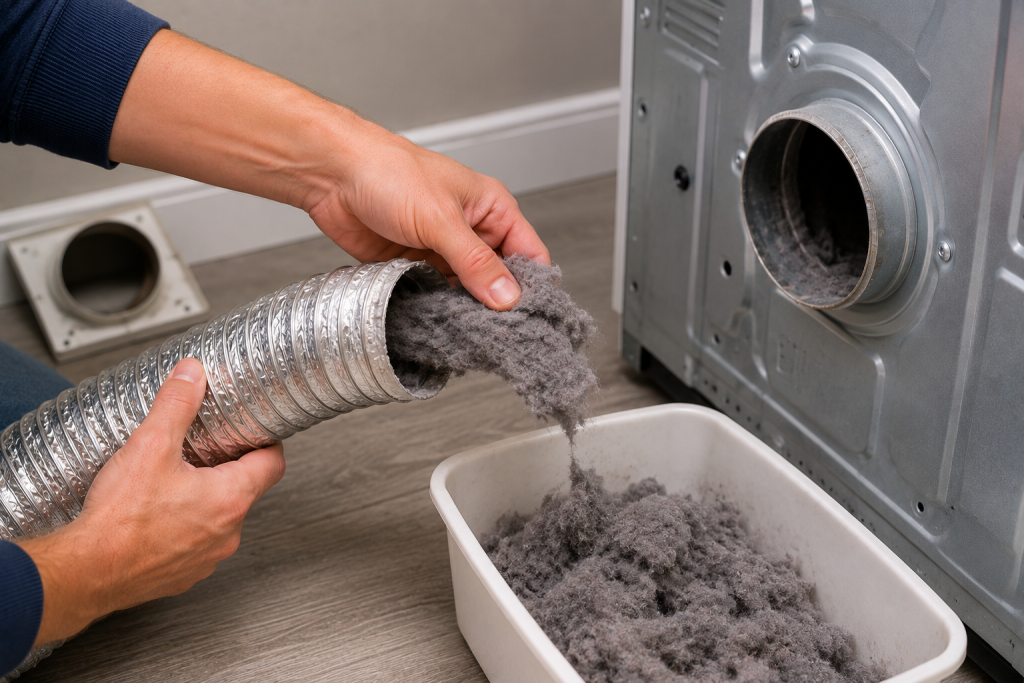
The vent hose often contains the heaviest buildup.
- Insert a dryer vent brush into the hose.
- Rotate and push the brush through the duct.
- Remove loosened lint.
- Use a vacuum to collect remaining debris.
If the hose is crushed or heavily damaged, replacement is recommended.
For more dryer maintenance tips, see our guide on Samsung Dryer HE Error.
Step 4: Clean the Wall Vent Duct
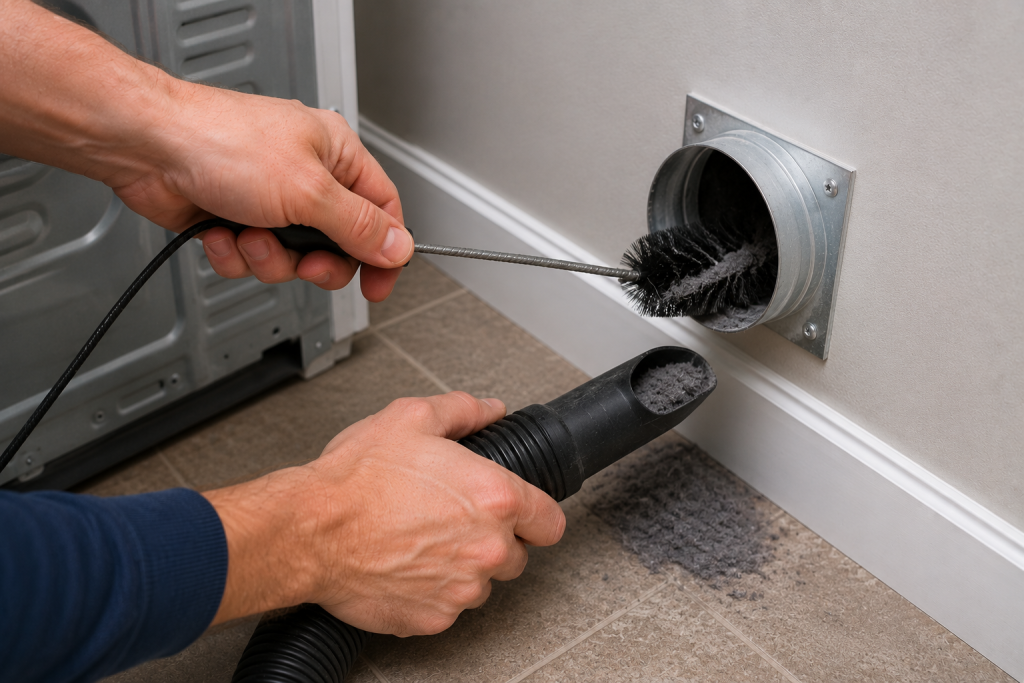
A major part of how to clean a dryer vent properly is removing lint from the wall duct, where buildup often goes unnoticed. Lint can accumulate deep inside the vent duct.
A dryer vent cleaning kit with flexible extension rods can help remove lint from accessible ductwork. Choose a kit compatible with your duct’s diameter, material, and length. Follow the kit’s instructions for rod connections and rotation direction, and never force the brush through an obstruction.
- Insert the vent brush into the wall opening.
- Rotate slowly while advancing the brush.
- Remove lint buildup.
- Vacuum the loosened debris.
Continue until the brush moves freely through the duct.
Step 5: Inspect and Clean the Exterior Vent Hood
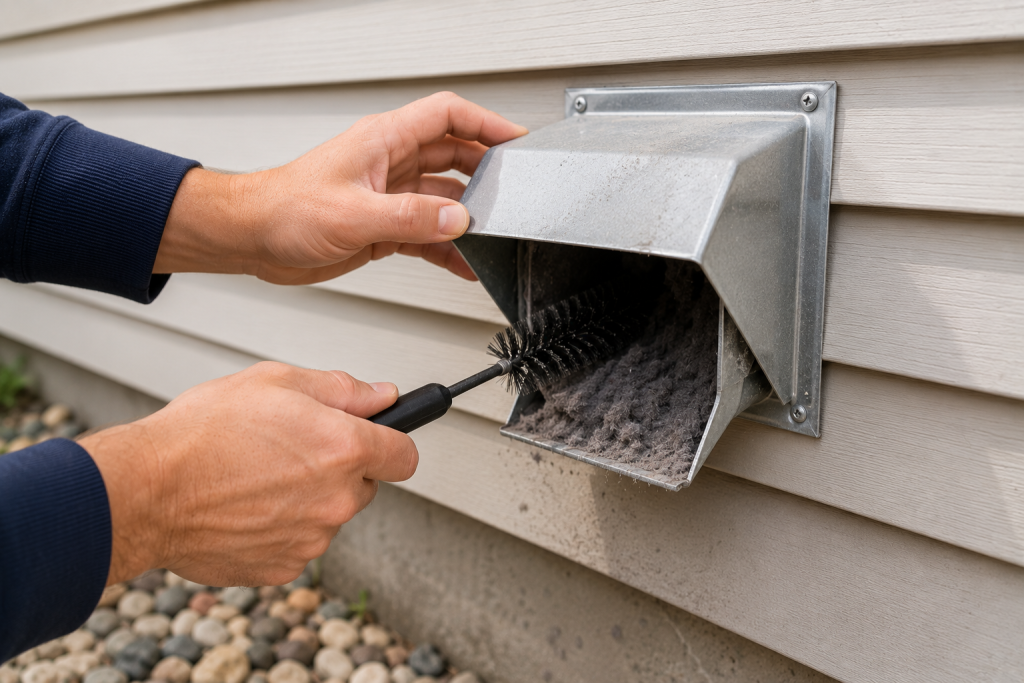
The outdoor vent termination can become blocked.
- Go outside and locate the vent hood.
- Remove visible lint, leaves, and debris.
- Verify that the vent flap opens freely.
- Clean around the vent opening.
Restricted exterior vents can significantly reduce airflow.
You may also find our article on Dryer Taking Too Long to Dry Clothes? 7 Easy Fixes That Actually Work helpful if your dryer struggles to dry clothes.
Step 6: Reconnect the Vent System
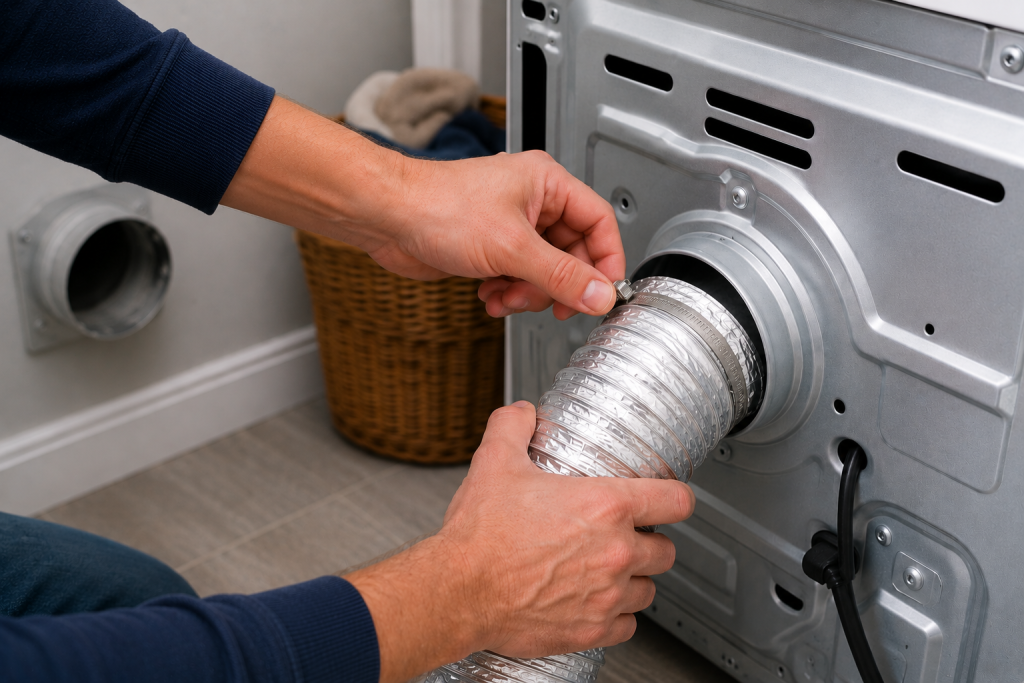
After cleaning is complete:
- Reattach the vent hose.
- Tighten all clamps securely. Replace missing or damaged clamps with dryer vent hose clamps sized for your connection. Follow the duct manufacturer’s fastening instructions and avoid overtightening, which can deform the connector.
- Confirm there are no kinks or sharp bends.
- Push the dryer back into position carefully.
Proper vent routing helps maximize airflow.
Step 7: Test the Dryer
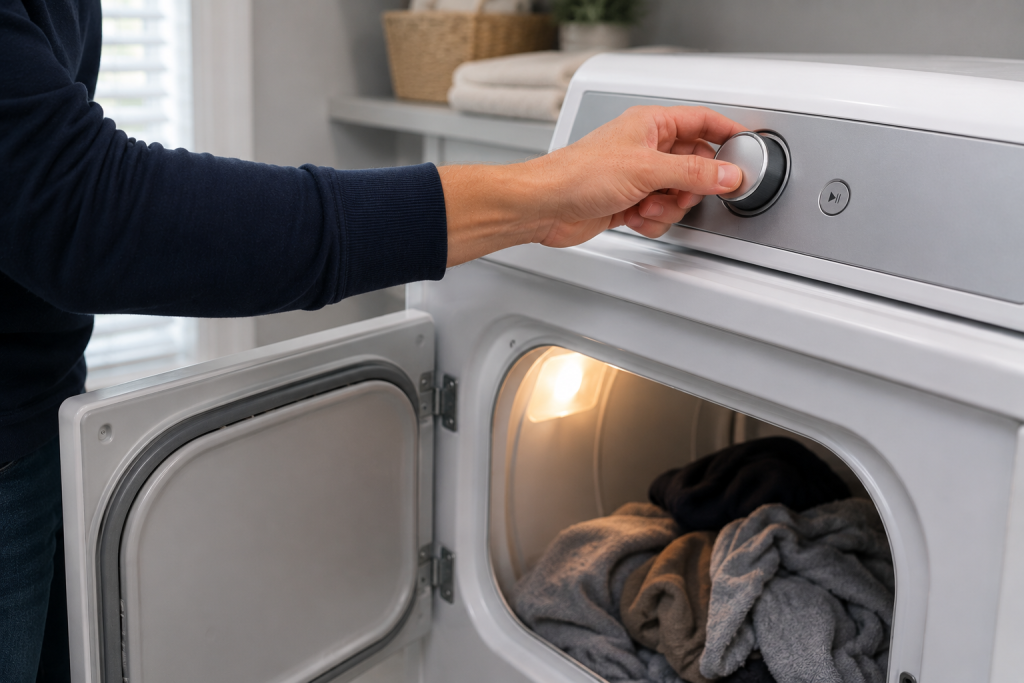
Verify that airflow has improved.
- Restore power.
- Turn on the dryer.
- Run a short drying cycle.
- Check airflow at the exterior vent.
You should notice stronger airflow and improved drying performance.
How Often Should You Clean a Dryer Vent?
Cleaning frequency depends on usage.
General recommendations:
- Average household: once per year
- Large families: every 6 months
- Homes with pets: every 6 months
- Heavy dryer use: every 3–6 months
More frequent cleaning may be needed if drying times increase.
When to Call a Professional
Professional vent cleaning may be necessary if:
- The vent run is extremely long
- The duct passes through multiple floors
- You cannot access portions of the vent
- Airflow remains weak after cleaning
- The vent system is heavily clogged
Professionals use specialized equipment to clean difficult vent systems thoroughly.
How to Prevent Dryer Vent Clogs
To minimize lint buildup:
- Clean the lint screen after every load.
- Avoid overloading the dryer.
- Inspect the vent system regularly.
- Use rigid metal ducting whenever possible.
- Replace crushed flexible ducts.
- Schedule routine vent cleanings.
Preventive maintenance extends dryer life and improves efficiency.
If you’re wondering how to clean a dryer vent safely, following the seven steps above will help restore proper airflow and improve dryer performance.
Frequently Asked Questions
How do I know when it’s time to clean a dryer vent?
If clothes take longer to dry, the dryer feels unusually hot, or airflow at the exterior vent seems weak, it’s time to learn how to clean a dryer vent and remove accumulated lint.
How often should a dryer vent be cleaned?
Most homes should clean the dryer vent at least once per year, though heavy users may need more frequent cleaning.
Can a clogged dryer vent cause a fire?
Yes. Excess lint is highly combustible and can ignite if airflow becomes restricted and temperatures rise.
How long does dryer vent cleaning take?
Most homeowners can complete the job in 30 to 60 minutes.
Is it safe to clean a dryer vent myself?
Yes, provided you disconnect power and follow basic safety precautions.
Will cleaning the vent help clothes dry faster?
Absolutely. Improved airflow allows moisture to escape more efficiently, reducing drying times.
Looking for help with another appliance problem? Browse our complete collection of appliance repair guides and error-code fixes.
Conclusion
Knowing how to clean a dryer vent can help improve dryer performance, lower energy costs, and reduce fire risks. By following these seven simple steps on how to clean a dryer vent, homeowners can keep their dryers operating safely and efficiently throughout the year.