Last updated: July 10, 2026
By Home Repair Genie
Home Repair Genie is a participant in the Amazon Services LLC Associates Program. As an Amazon Associate, we earn from qualifying purchases. This comes at no additional cost to you and helps support our site.
If you have a Whirlpool ice maker not making ice problem, especially after a filter change, the issue is often caused by trapped air in the water line, an improperly installed filter, or low water pressure. In many cases, removing and reinstalling the filter correctly restores ice production within a few hours.
Quick Answer
A Whirlpool ice maker not making ice after a filter change is usually caused by air trapped in the water line, an incorrectly installed filter, or reduced water flow. Start by removing and reinstalling the filter, then flush several cups of water through the dispenser and allow up to 24 hours for normal ice production to return.
Why a Whirlpool Ice Maker Stops Working After a Filter Change
Replacing the water filter can temporarily interrupt water flow to the ice maker. Whirlpool refrigerators rely on consistent water pressure, and even a small installation issue can stop the ice maker from filling properly.
Common causes include:
- The filter is not fully locked into place
- Air trapped in the water line
- A clogged or defective new filter
- Using a non-OEM or incompatible filter
- Low water pressure after installation
- The refrigerator control system needing a reset
If your refrigerator water dispenser is also acting up, check out our guide on fixing a refrigerator water dispenser not working issue.
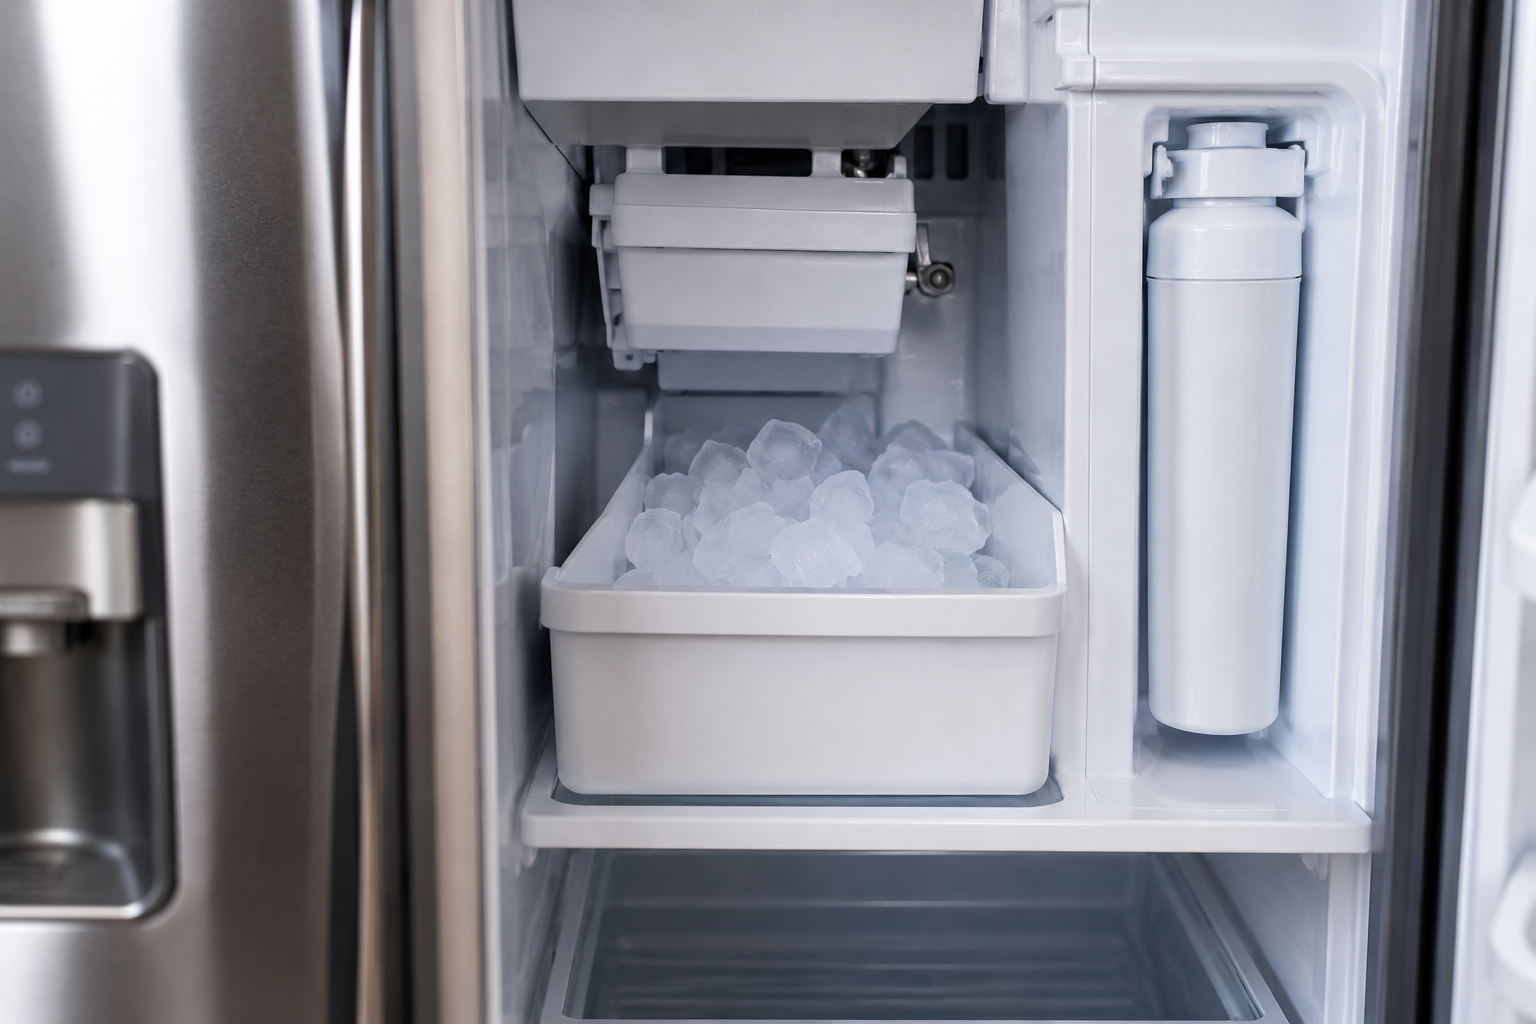
Step 1: Make Sure the Water Filter Is Installed Correctly
Remove and Reinstall the Filter
One of the most common issues is a filter that appears installed but is not fully locked into position.
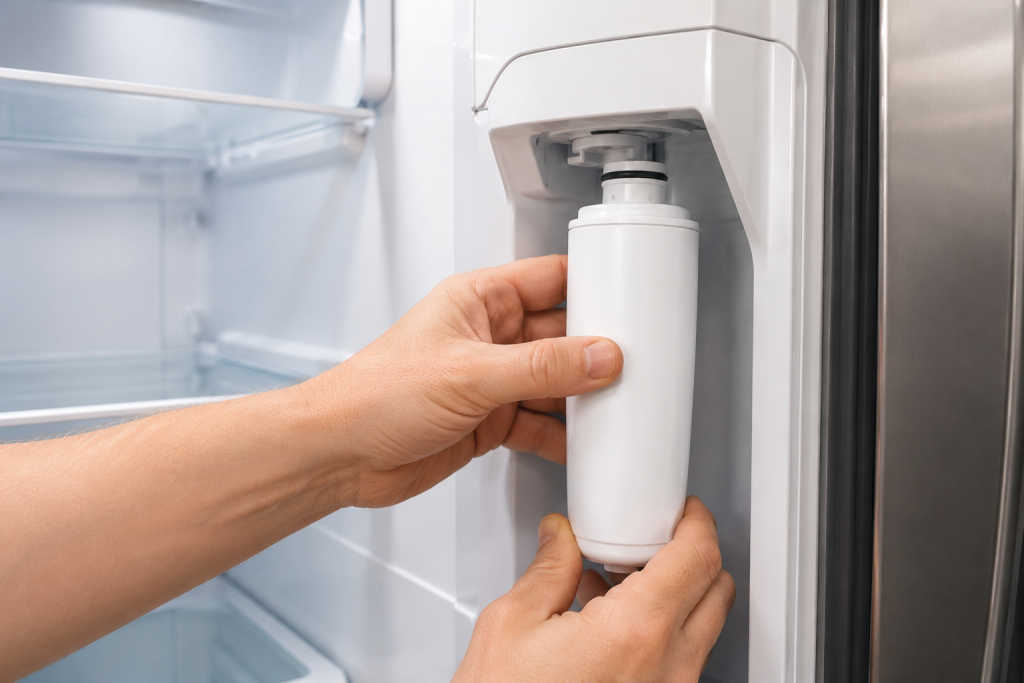
To check the filter:
- Remove the new filter completely
- Inspect the O-rings for damage or twisting
- Reinsert the filter slowly
- Twist or push it firmly until it locks into place
Some Whirlpool refrigerators require a firm push or quarter-turn to fully engage the filter housing.
If the filter feels loose or difficult to install, verify that the model number matches your refrigerator.
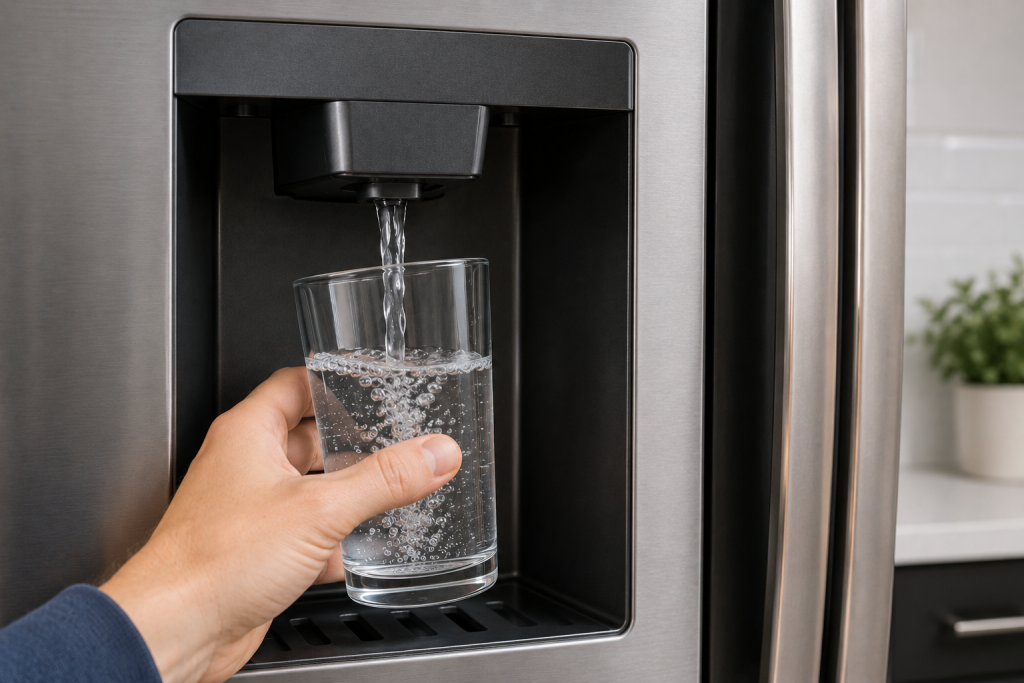
Step 2: Flush Air Out of the Water Line
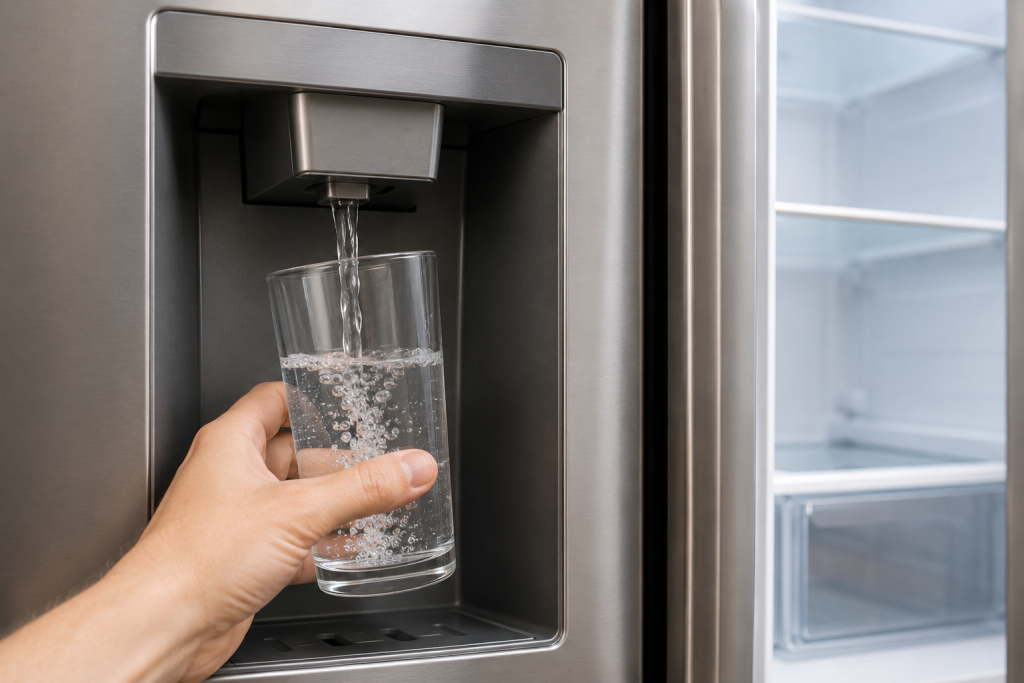
Dispense Water Through the Door
Air trapped in the line after a filter replacement can prevent the ice maker from receiving water.
To purge the air:
- Hold a large container under the water dispenser
- Dispense water continuously for 2–5 minutes
- Pause every 30 seconds if sputtering occurs
- Continue until water flows smoothly
You may hear bubbling or sputtering initially, which is normal.
After flushing the system, wait several hours to see if ice production resumes.
Step 3: Check the Water Supply Valve
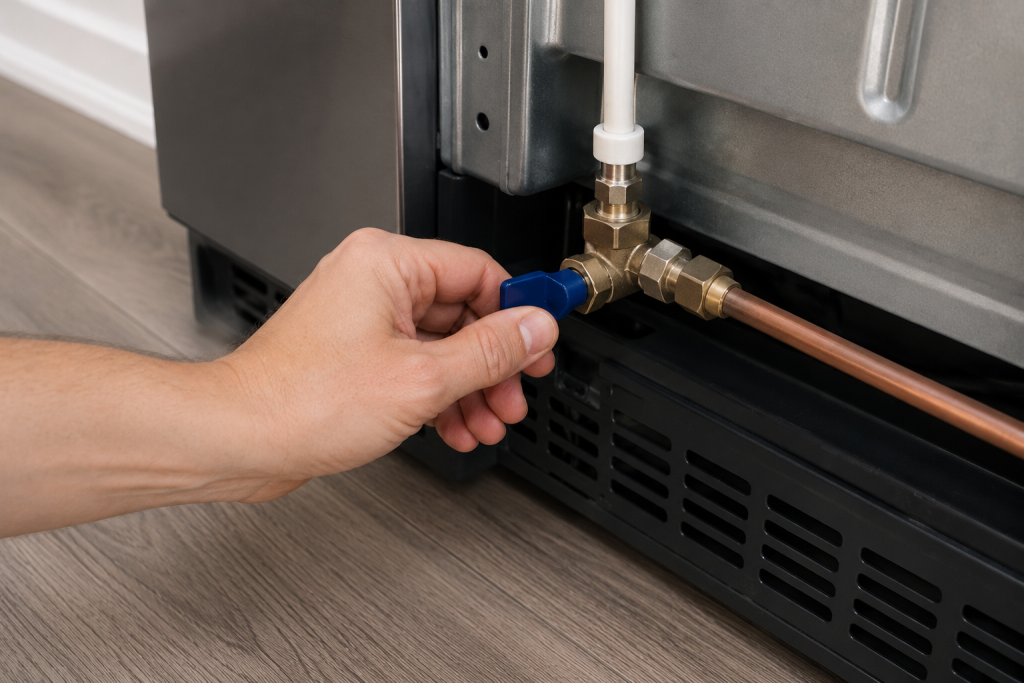
Verify the Refrigerator Has Proper Water Flow
If the water supply valve behind the refrigerator was accidentally bumped during the filter change, water flow may be restricted.
To inspect it:
- Pull the refrigerator slightly away from the wall
- Locate the water shutoff valve
- Ensure the valve is fully open
- Inspect the supply line for kinks or bends
Low water pressure can stop the ice maker from filling properly.
If the refrigerator water line is kinked or leaking, replacing the supply line may restore proper flow.
For additional refrigerator troubleshooting, you can also read our guide on refrigerator not cooling but freezer works.
Step 4: Reset the Whirlpool Refrigerator
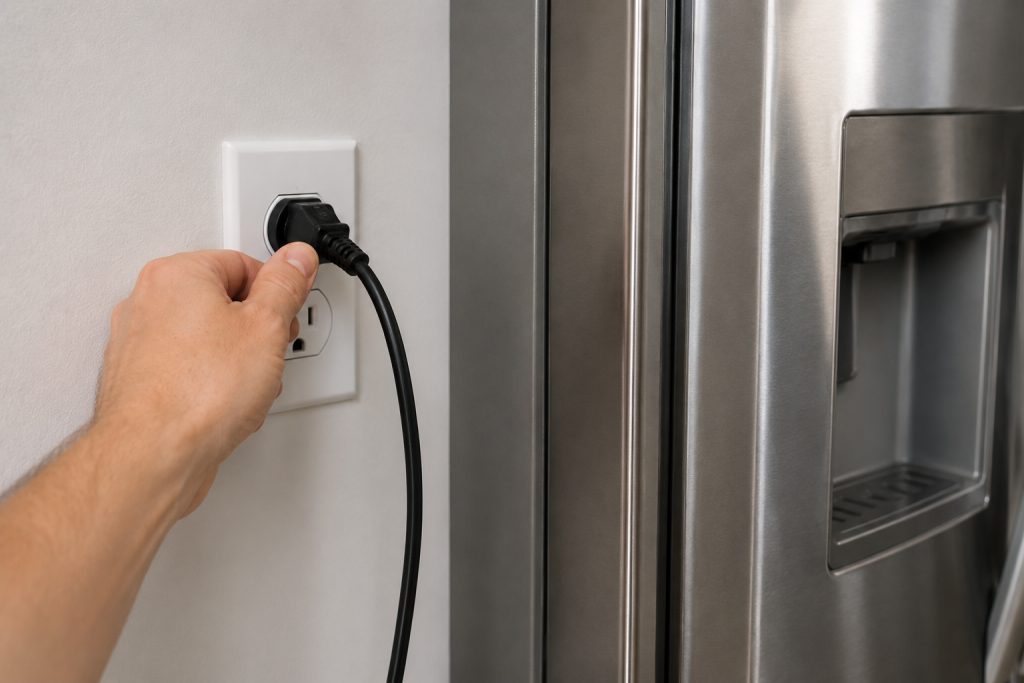
Perform a Simple System Reset
Sometimes the control board needs to recalibrate after a filter replacement.
Try this reset process:
- Unplug the refrigerator for 5 minutes
- Plug it back in
- Reset the filter indicator light if applicable
- Turn the ice maker off and back on
Some Whirlpool models also have a dedicated reset button near the ice maker assembly.
Step 5: Check for a Frozen Fill Tube
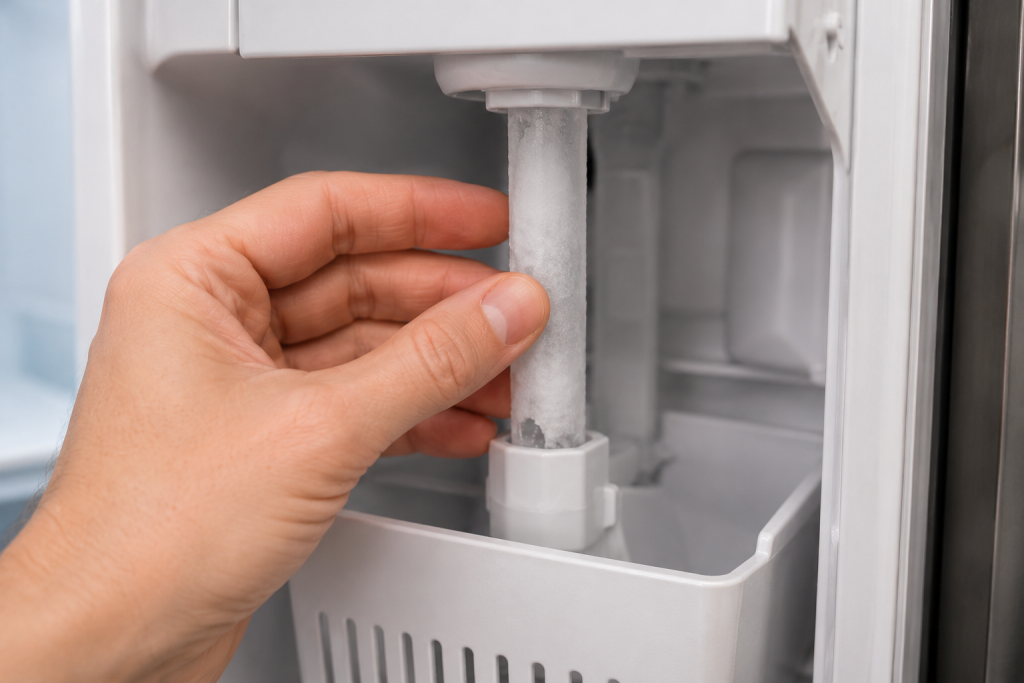
Inspect the Ice Maker Water Tube
The fill tube that supplies water to the ice maker can occasionally freeze after interrupted water flow.
To inspect it:
- Locate the small tube above the ice maker
- Look for visible ice blockage
- Use warm air from a hair dryer on low heat to thaw it carefully
- Avoid overheating plastic components
A frozen fill tube often indicates low water flow or a partially clogged valve.
Step 6: Test the New Water Filter
Rule Out a Defective or Incorrect Filter
Not all aftermarket filters work properly with Whirlpool refrigerators.
Try these checks:
- Confirm the filter model matches your refrigerator
- Remove and reinstall the filter again
- Temporarily reinstall the old filter if available
- Use a filter that is made for your Whirlpool refrigerator if possible
Many ice maker problems begin immediately after installing incompatible filters.
You can find Whirlpool’s official filter support information here: Whirlpool Refrigerator Water Filter Support
Step 7: Inspect the Water Inlet Valve
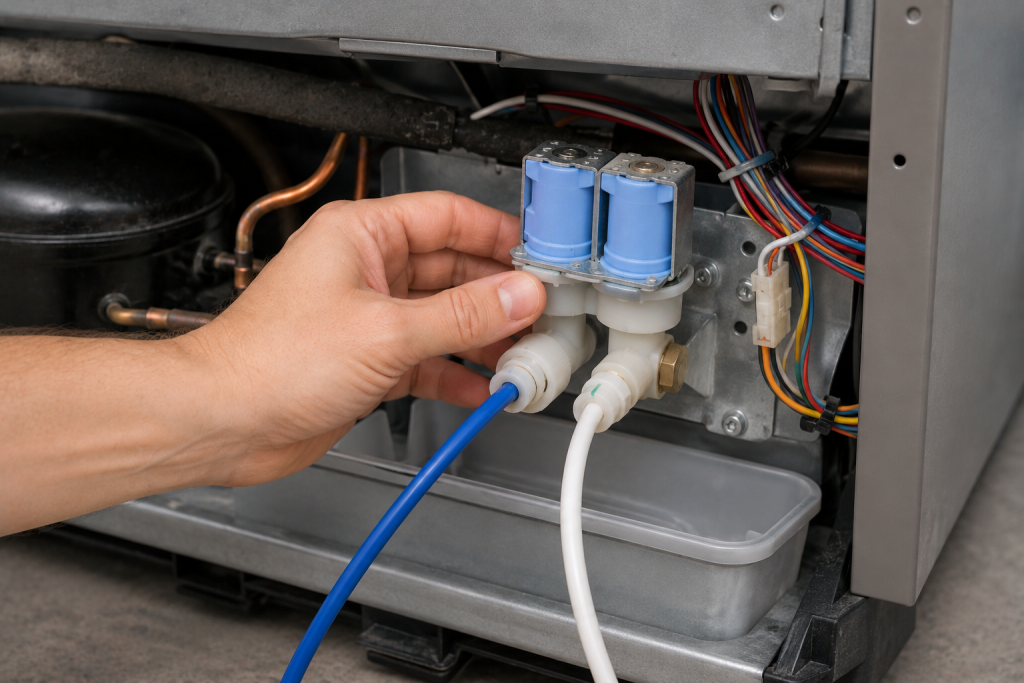
Determine if the Valve Is Receiving Water
If the refrigerator still is not making ice, the water inlet valve may not be opening correctly.
Signs of a failing valve include:
- No humming sound during ice cycles
- Very small ice cubes
- No water entering the ice tray
- Intermittent ice production
Testing the valve typically requires a multimeter and basic appliance repair experience.
If your refrigerator is also leaking water, you may want to read our article on refrigerator leaking water inside.
How Long Does It Take for Ice Production to Return?
After changing a Whirlpool refrigerator water filter:
- Water flow should return immediately after flushing
- Ice production may take 4–24 hours to normalize
- Full ice bin production can take up to 48 hours
Patience is important after completing troubleshooting steps.
A refrigerator thermometer can also help verify the freezer is cold enough for proper ice production.
Preventing Ice Maker Problems After Future Filter Changes
To reduce future issues:
- Always use the correct filter model
- Flush several gallons of water after installation
- Replace filters every 6 months
- Avoid overtightening the filter
- Reset the filter indicator when finished
Routine maintenance helps prevent water flow interruptions.
FAQ for Whirlpool Ice Maker Not Making Ice
Why did my Whirlpool ice maker stop working immediately after replacing the filter?
The most likely causes are trapped air, incorrect filter installation, or reduced water flow from a clogged or incompatible filter.
Can a bad water filter stop the ice maker from working?
Yes. A defective or incompatible filter can restrict water flow enough to stop ice production entirely.
How long should I wait for ice after changing the filter?
Most Whirlpool refrigerators begin making ice again within 4–24 hours after proper installation and flushing.
Should I flush the water system after replacing the filter?
Yes. Flushing helps remove trapped air and carbon particles while restoring proper water pressure.
Do aftermarket refrigerator filters cause problems?
Sometimes. Some aftermarket filters do not seal correctly or restrict water flow more than genuine Whirlpool filters.
Final Thoughts
In most cases, a Whirlpool ice maker not making ice after a filter replacement can be fixed by reinstalling the filter, flushing the water line, and resetting the refrigerator.
If the problem continues after completing these steps, the issue may involve the water inlet valve, frozen fill tube, or ice maker assembly itself.