Last updated: June 19, 2026
By Home Repair Genie
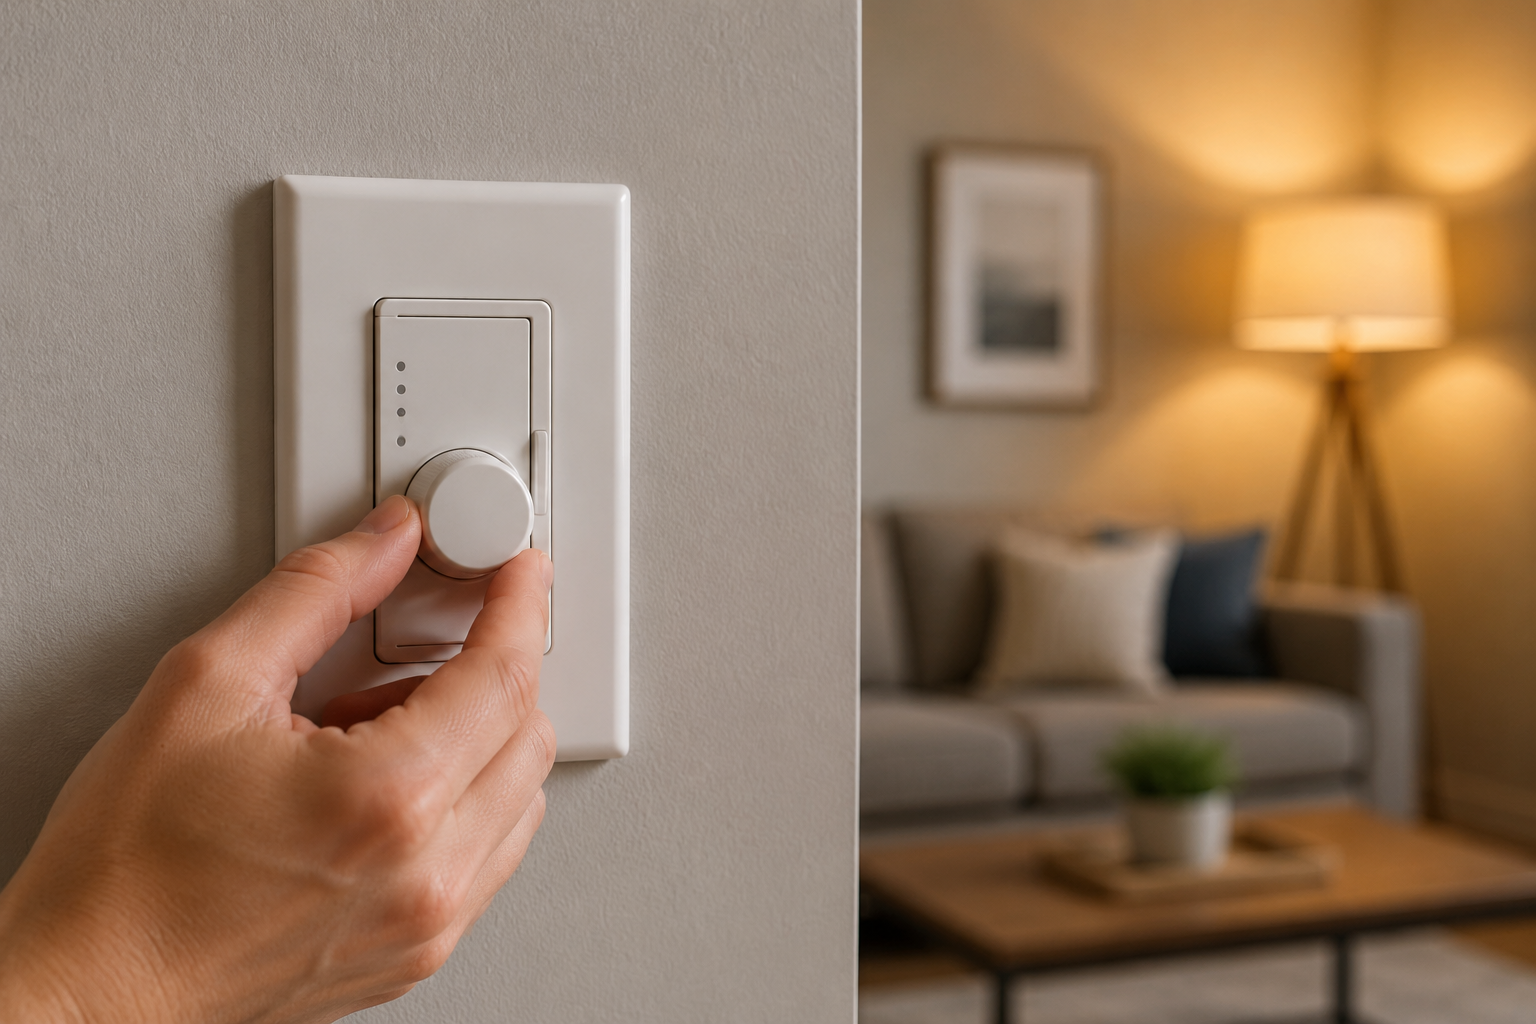
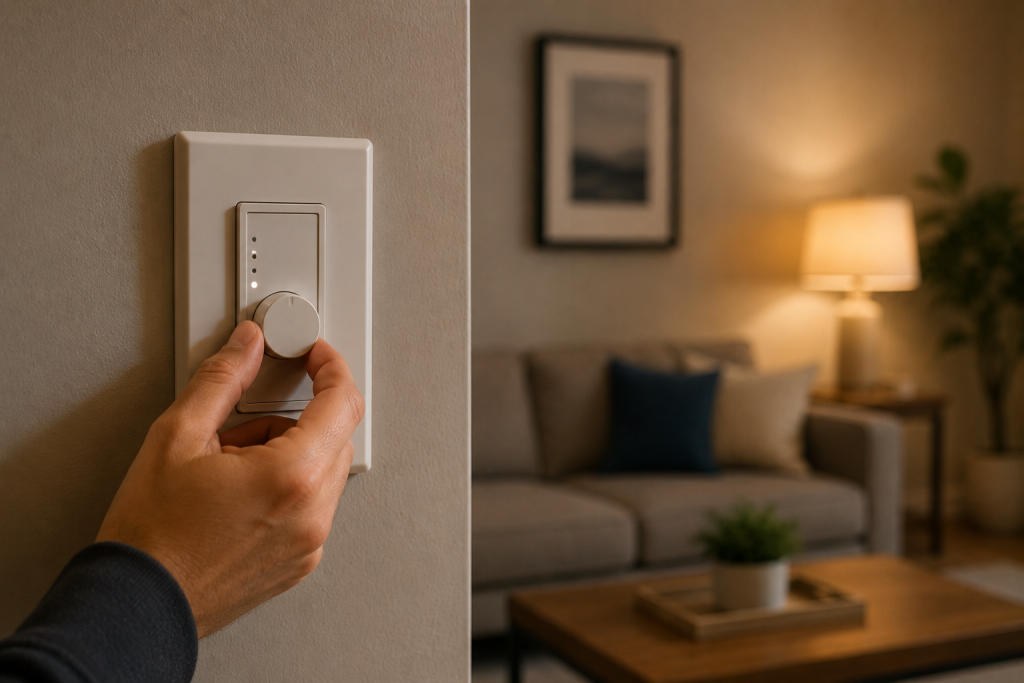
If your dimmer switch not working problem is preventing lights from turning on, causing flickering, or leaving lights stuck at one brightness level, start by checking the circuit breaker, testing the light bulbs, confirming LED compatibility, and inspecting the wiring. In many cases, a dimmer switch not working is caused by a failed switch, incompatible bulbs, or loose electrical connections.
Quick Answer
If your dimmer switch is not working, first verify that the circuit breaker is on, the light bulbs are functional, and the bulbs are compatible with the dimmer. Next, check for loose wiring connections and signs of a failed switch. If the dimmer no longer controls brightness or the lights will not turn on, replacing the dimmer switch is often the solution.
Common Signs of a Bad Dimmer Switch
Several symptoms can indicate a dimmer switch problem:
- Lights do not turn on
- Lights remain on at full brightness
- Flickering lights
- Buzzing sounds from the switch
- Lights turn off unexpectedly
- Dimmer slider or knob feels loose
- Switch feels unusually warm
If you notice flickering throughout the room, you may also want to review our guide on Why Your Lights Are Flickering: 7 Common Causes and Fixes (Step-by-Step Guide).
Why Is My Dimmer Switch Not Working?
A dimmer switch not working can be caused by several issues, including incompatible LED bulbs, loose wiring, overloaded circuits, internal component failure, or a tripped breaker. Identifying why your dimmer switch not working issue occurred is the first step toward finding the correct repair.
Common causes include:
- Burned-out bulbs
- Tripped breakers
- Loose wire connections
- Incompatible LED bulbs
- Overloaded dimmer circuits
- Internal dimmer failure
- Electrical surges
Understanding the cause will help determine the correct repair.
How to Fix a Dimmer Switch Not Working
Step 1: Check the Circuit Breaker
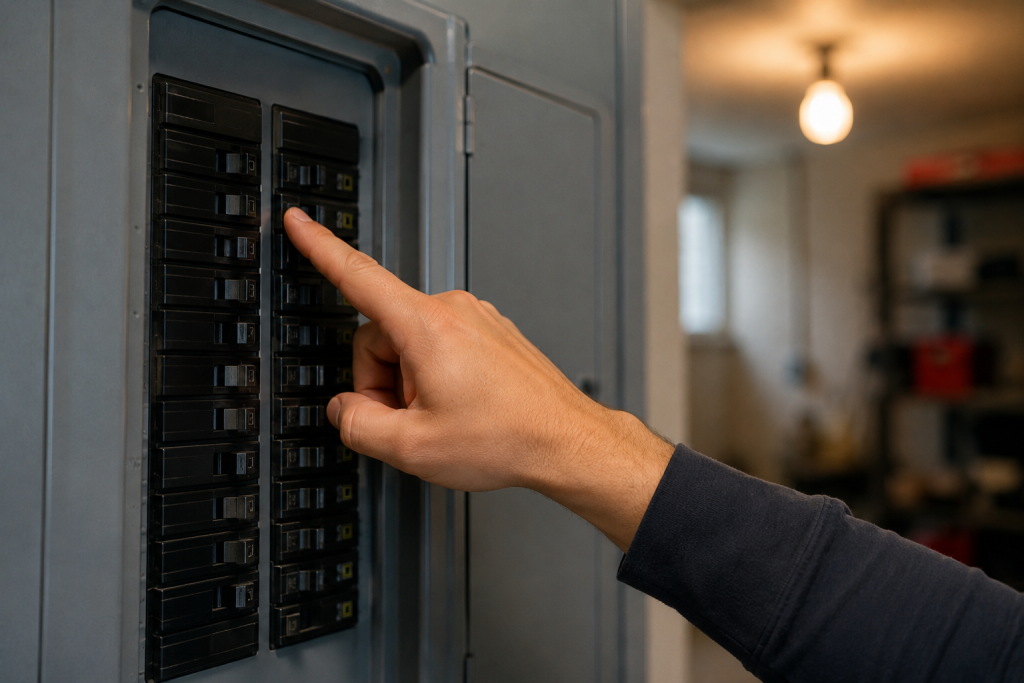
Locate your home’s electrical panel and verify that the breaker controlling the lighting circuit is fully on.
A partially tripped breaker may appear normal but prevent the circuit from operating correctly.
If the breaker repeatedly trips, see our guide on Breaker Keeps Tripping? 7 Easy Fixes That Actually Work (Step-by-Step Guide).
Step 2: Verify the Light Bulbs Work
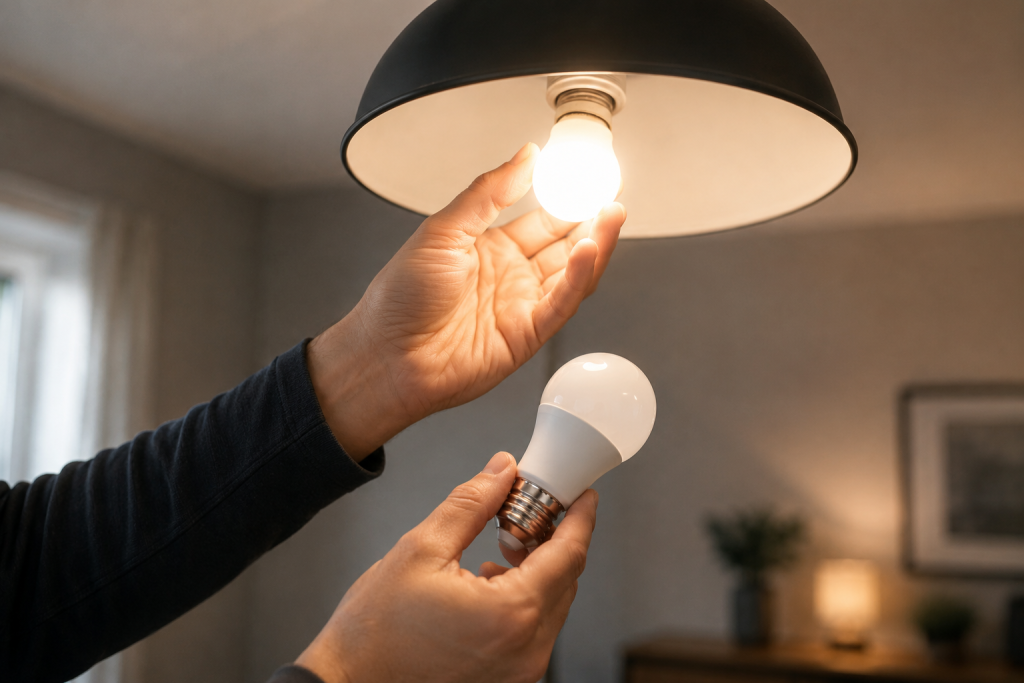
Remove the bulb and test it in another fixture.
A failed bulb can sometimes appear to be a dimmer switch problem.
Pay special attention to LED bulbs, as some dimmers are not compatible with all LED models.
Step 3: Confirm LED Bulb Compatibility
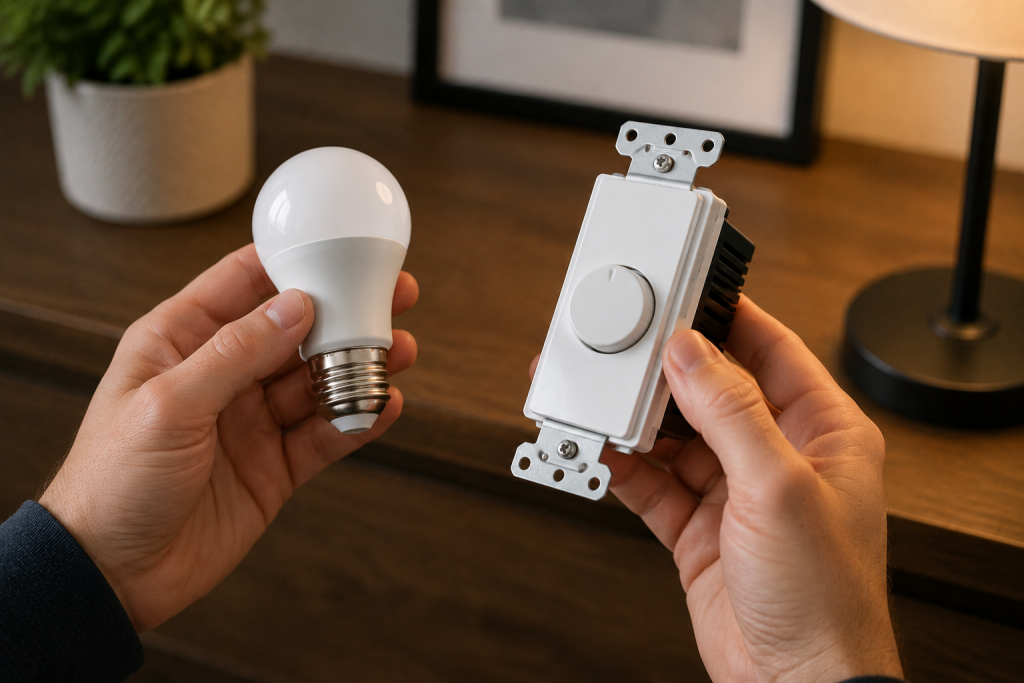
Many older dimmer switches were designed for incandescent bulbs.
When paired with incompatible LED bulbs, you may experience:
- Flickering
- Buzzing
- Lights not turning on
- Limited dimming range
Check the packaging for both the bulbs and the dimmer to ensure compatibility.
For additional lighting troubleshooting information, visit the lighting resources available from the U.S. Department of Energy.
Step 4: Test the Dimmer Settings
Some modern dimmers include adjustment dials behind the faceplate that control:
- Minimum brightness
- Maximum brightness
- LED compatibility settings
Remove the cover plate and inspect the manufacturer’s instructions for calibration adjustments.
Step 5: Inspect for Loose Wiring
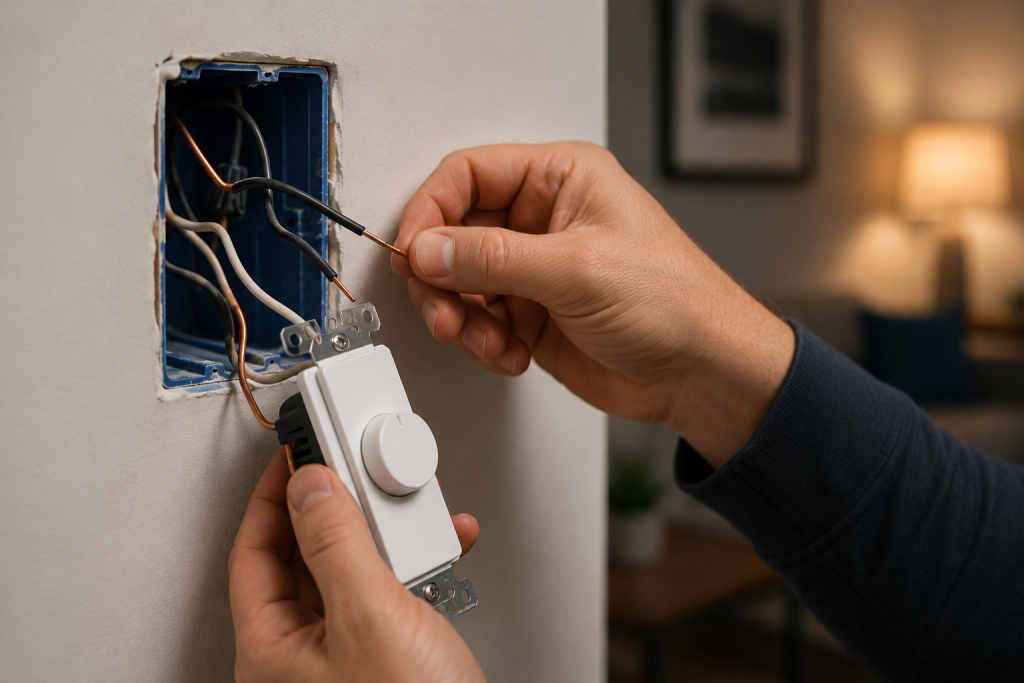
Turn off power at the breaker before removing the switch from the electrical box.
Carefully inspect:
- Wire nuts
- Terminal screws
- Ground connections
- Backstab connections
Loose wires can interrupt power and prevent the dimmer from functioning properly.
If you are comfortable using a voltage tester, confirm power is reaching the switch.
You may also find our Light Switch Not Working? 7 Easy Fixes That Actually Work (Step-by-Step Guide) guide helpful.
Step 6: Check for Signs of Overheating
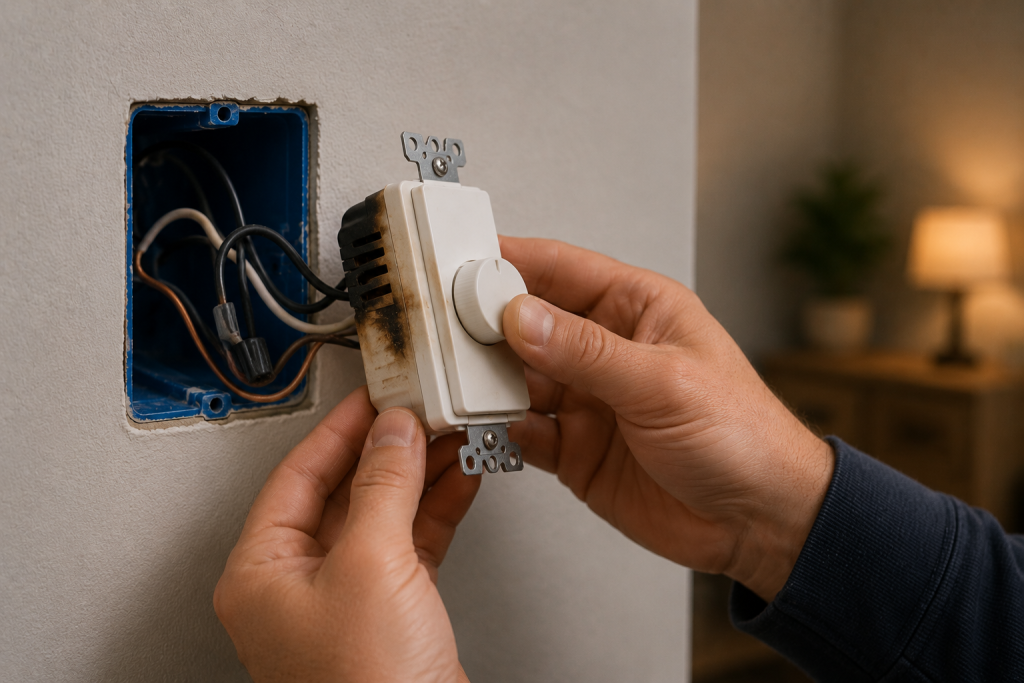
Dimmer switches naturally generate some heat, but excessive heat may indicate a problem.
Look for:
- Burn marks
- Discolored plastic
- Melted insulation
- Burning odors
If any of these conditions are present, replace the dimmer immediately.
Step 7: Replace the Dimmer Switch
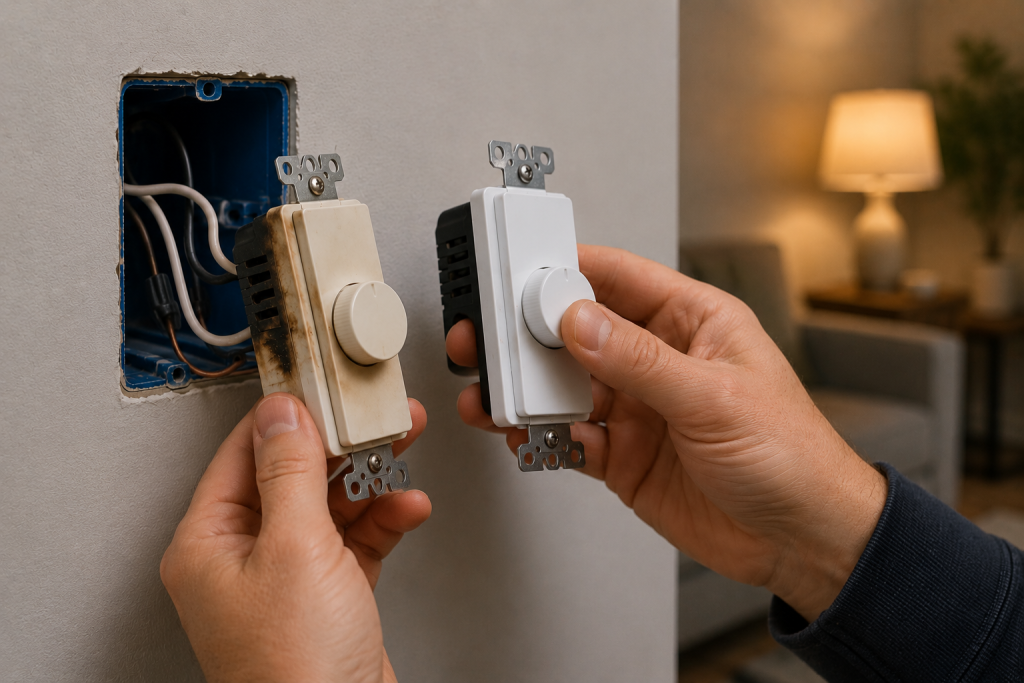
If power is reaching the switch and the wiring appears secure, the dimmer itself may have failed.
Replacement is often straightforward:
- Turn off power.
- Remove the faceplate.
- Disconnect the old dimmer.
- Connect the new dimmer according to the manufacturer’s instructions.
- Restore power and test operation.
Be sure to purchase a dimmer rated for the type and wattage of lighting on the circuit.
When to Call an Electrician
Contact a licensed electrician if:
- Breakers continue tripping
- Wiring appears damaged
- The electrical box is overcrowded
- You find signs of overheating
- The switch controls multiple complex circuits
Electrical work can be dangerous if performed incorrectly.
How to Prevent Future Dimmer Switch Problems
To maximize dimmer switch life:
- Use compatible bulbs
- Avoid exceeding wattage ratings
- Tighten loose connections
- Replace aging switches proactively
- Protect circuits from power surges
Modern LED-rated dimmers generally provide the best performance and reliability.
Frequently Asked Questions
Why does my dimmer switch have power but not work?
The dimmer’s internal electronics may have failed even though power is reaching the switch. Incompatible bulbs can also cause similar symptoms.
Why are my dimmable LED bulbs flickering?
Flickering is often caused by an incompatible dimmer, improper dimmer settings, or low-quality LED bulbs.
Can a dimmer switch go bad over time?
Yes. Dimmer switches contain electronic components that can wear out after years of use.
Why does my dimmer switch buzz?
A slight hum can be normal, but loud buzzing often indicates bulb incompatibility, overloading, or a failing dimmer.
How long do dimmer switches last?
Most quality dimmer switches last 10 to 20 years, depending on usage, load, and environmental conditions.
Final Thoughts
A dimmer switch not working is commonly caused by bulb compatibility issues, loose wiring, or an aging switch. Start with simple checks such as verifying the breaker, testing bulbs, and confirming LED compatibility before inspecting wiring. In many cases, replacing the dimmer restores normal operation and improves lighting performance throughout the room.