
Last updated: June 16, 2026
By Home Repair Genie
Quick Answer
A doorbell not working can be frustrating, especially when visitors have no way to alert you, they have arrived. Fortunately, most doorbell issues are caused by a few common problems that are relatively easy to diagnose. If your doorbell is not working, the most common causes are a tripped breaker, a failed doorbell button, loose wiring, a defective transformer, or a faulty chime unit. Start by checking power to the doorbell system, then inspect the button, wiring, transformer, and chime to identify the problem.
Why a Doorbell Stops Working
A doorbell system is fairly simple. Most traditional wired doorbells consist of a transformer, a doorbell button, wiring, and a chime unit.
When any of these components fail, the doorbell may stop ringing completely or work intermittently.
Common signs include:
- No sound when the button is pressed
- A humming chime
- Intermittent operation
- A button that feels stuck
- A doorbell that only works sometimes
Fortunately, most doorbell issues can be diagnosed in less than an hour.
Tools You May Need
- Screwdriver
- Non-contact voltage tester
- Multimeter
- Wire stripper
- Replacement doorbell button (if needed)
For additional electrical troubleshooting, see our guide on Half of Outlet Not Working.
Step 1: Check the Circuit Breaker
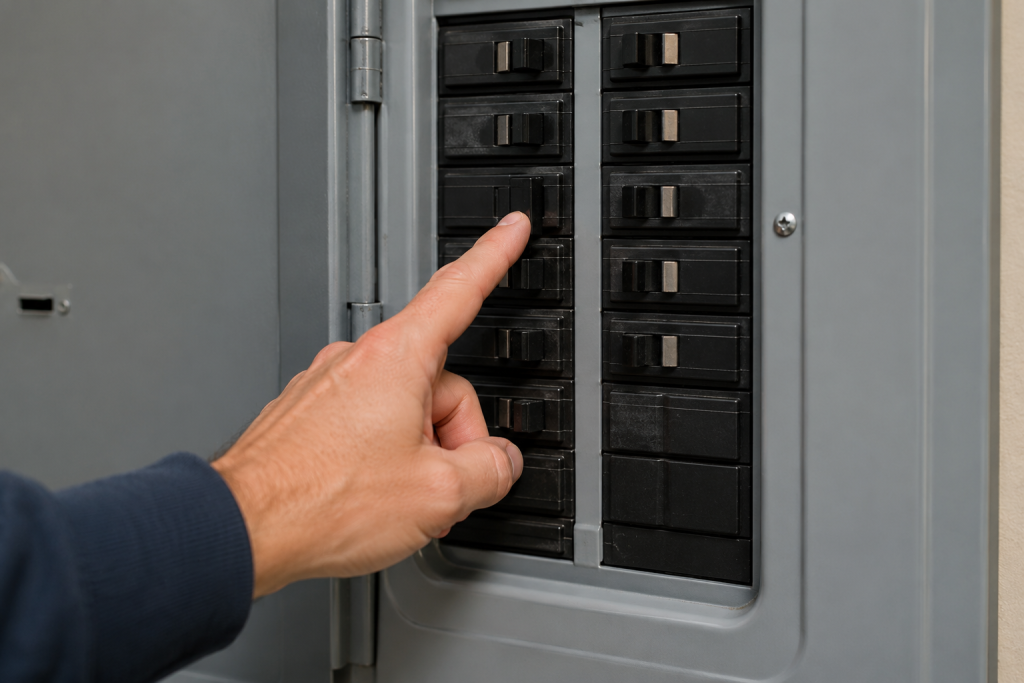
Locate the Electrical Panel
When troubleshooting a doorbell not working, the first thing to check is the circuit breaker. Although doorbells use low voltage, the transformer receives power from a standard household circuit.
Open your electrical panel and look for any breaker that has tripped.
Reset the Breaker
If a breaker is in the middle position:
- Turn it fully off.
- Turn it back on.
- Test the doorbell.
If the breaker trips again, there may be a wiring issue that requires further investigation.
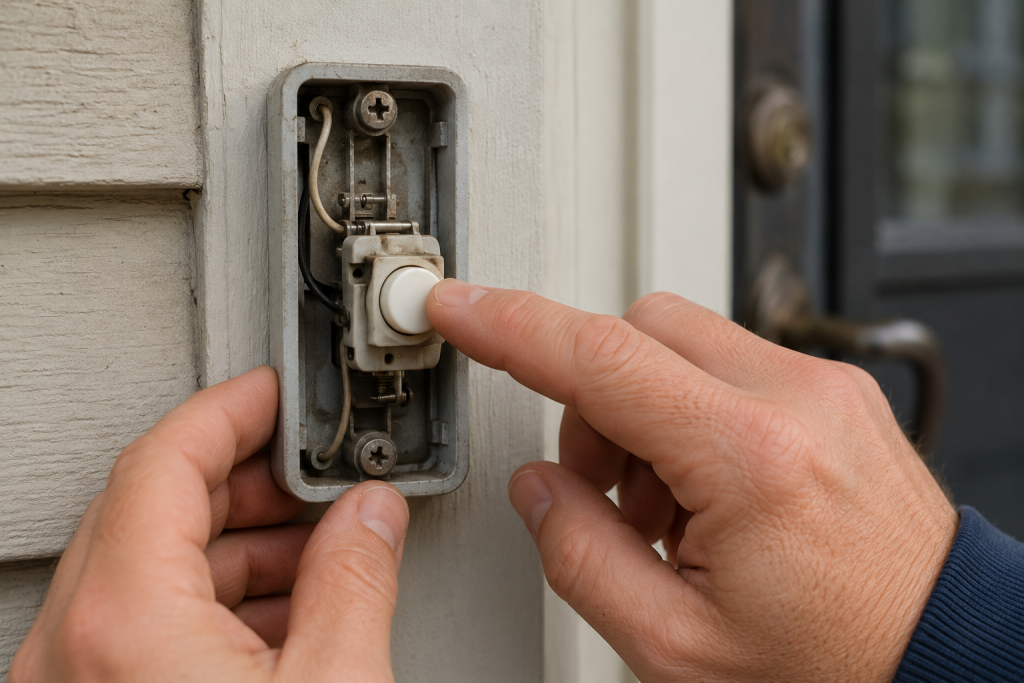
Step 2: Inspect the Doorbell Button
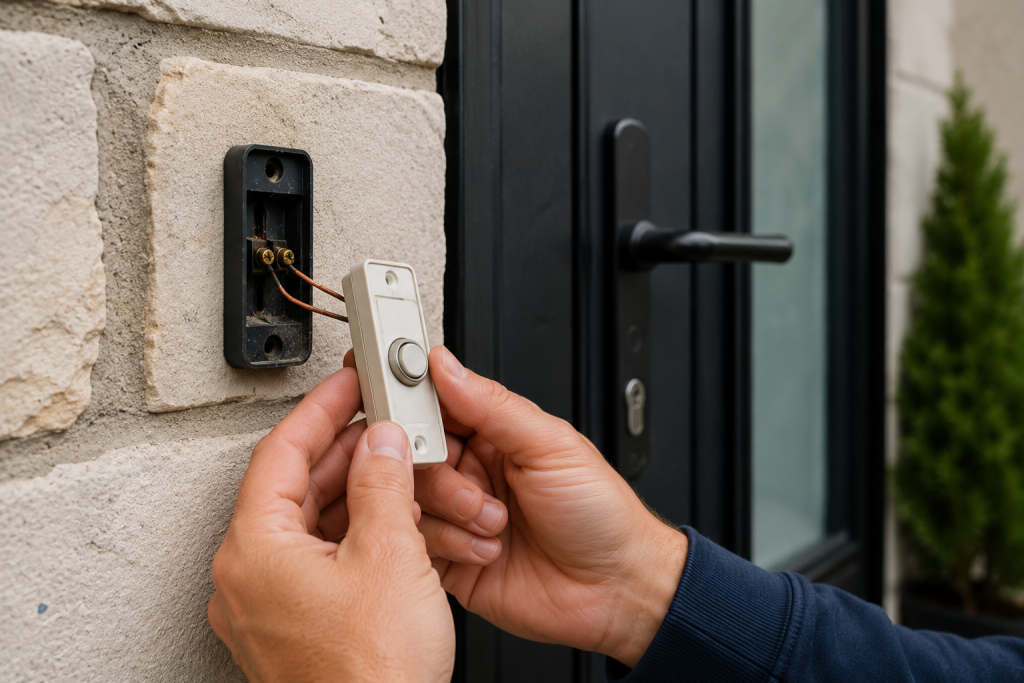
Check for Physical Damage
Doorbell buttons are exposed to weather and can wear out over time.
Look for:
- Cracks
- Corrosion
- Loose mounting
- Sticking buttons
Test the Button
Remove the button from the wall and inspect the wire connections.
If the button appears damaged or corroded, replacing it is often the easiest solution.
If you’re dealing with other electrical device issues, our guide on Light Switch Not Working may also be helpful.
Step 3: Examine the Doorbell Wiring
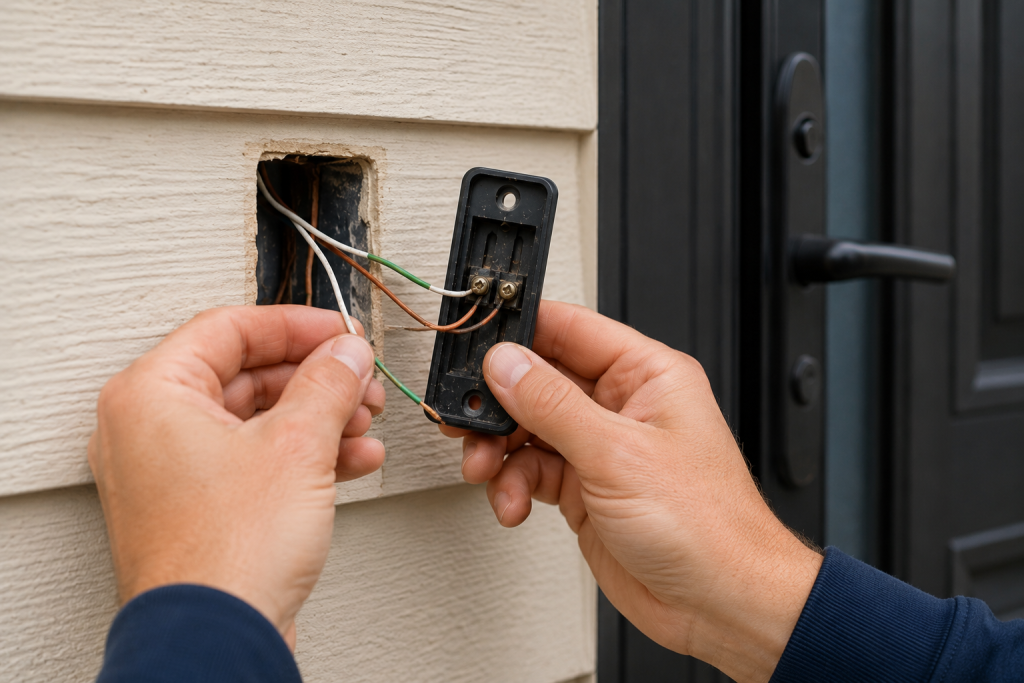
Look for Loose Connections
A doorbell not working is often caused by loose or damaged wiring connections. A loose wire can interrupt the low-voltage circuit.
Inspect:
- Doorbell button connections
- Transformer connections
- Chime terminal connections
Tighten any loose screws.
Check for Damaged Wire
Look for:
- Frayed insulation
- Broken wires
- Corrosion
Replace damaged sections as needed.
Step 4: Test the Doorbell Transformer
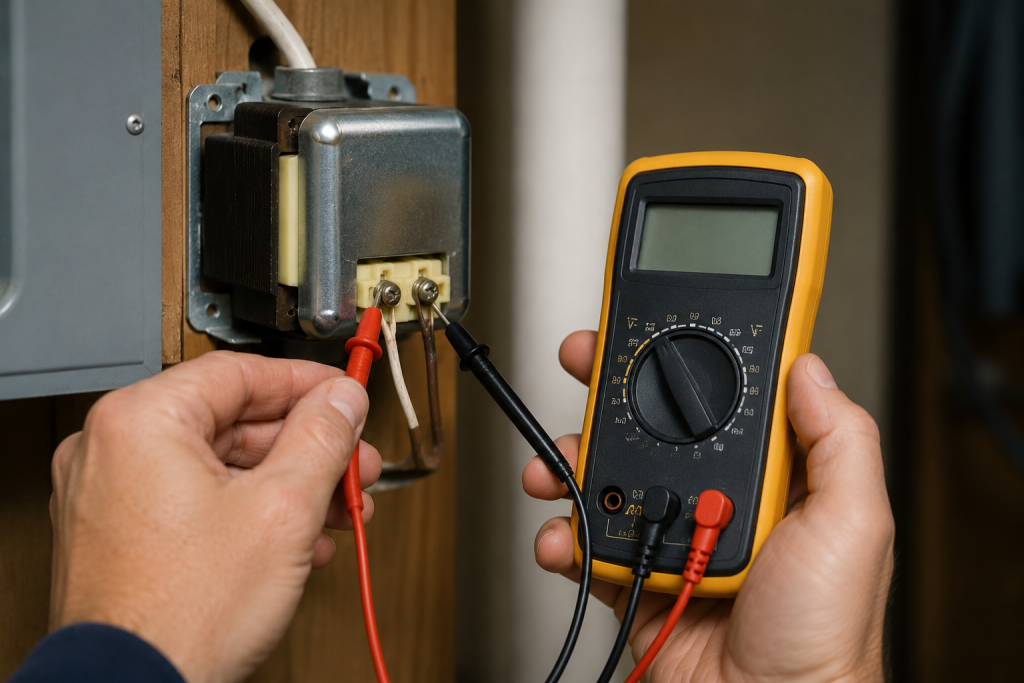
Locate the Transformer
If your doorbell is not working after inspecting the button and wiring, the transformer should be tested next. The transformer is often mounted:
- Near the electrical panel
- In a basement
- In a utility room
- In an attic
Verify Voltage Output
Use a multimeter to test the transformer’s output voltage.
Most residential doorbells operate between 16 and 24 volts.
If the transformer is not producing voltage, it likely needs replacement.
For general electrical safety guidance, consult the experts at the Electrical Safety Foundation.
Step 5: Check the Doorbell Chime
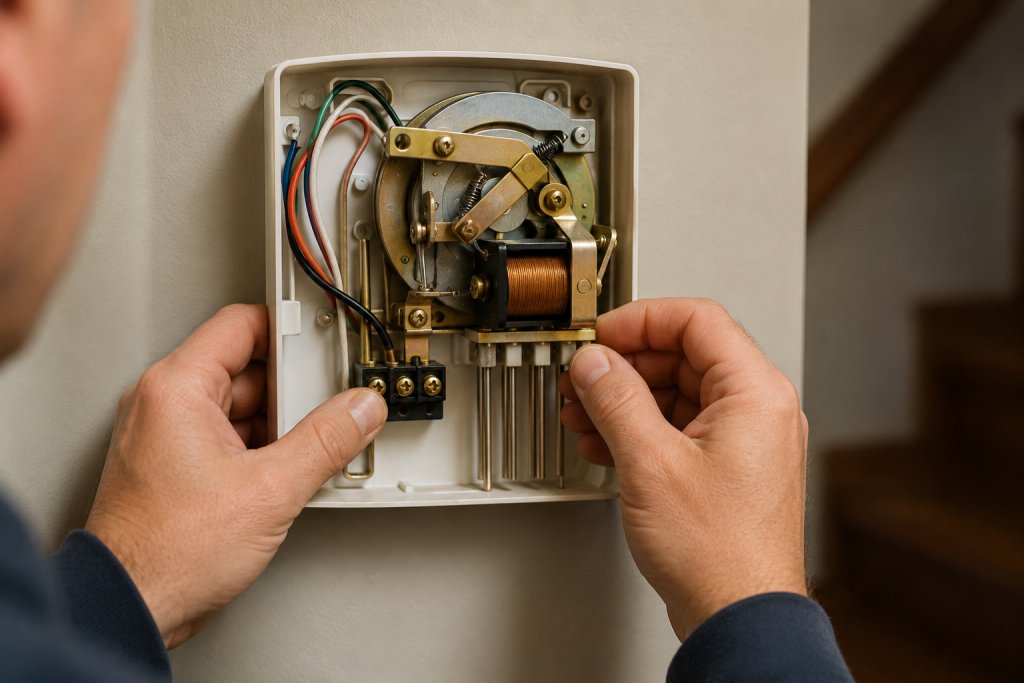
Remove the Chime Cover
Most chime covers pull straight off or are held in place with small clips.
Inspect Internal Components
Look for:
- Loose wires
- Corrosion
- Burned contacts
- Stuck plungers
A plunger that sticks can prevent the chime from sounding properly.
Test the Chime
If voltage reaches the chime when the button is pressed but no sound occurs, the chime assembly may need replacement.
Step 6: Look for a Stuck Doorbell Button
Identify Continuous Humming
A constant humming sound often indicates the button is stuck in the pressed position.
This can cause:
- Transformer overheating
- Chime damage
- Premature component failure
Replace the Button
Replacing a stuck button is inexpensive and often solves the problem immediately.
Step 7: Determine Whether You Have a Smart Doorbell
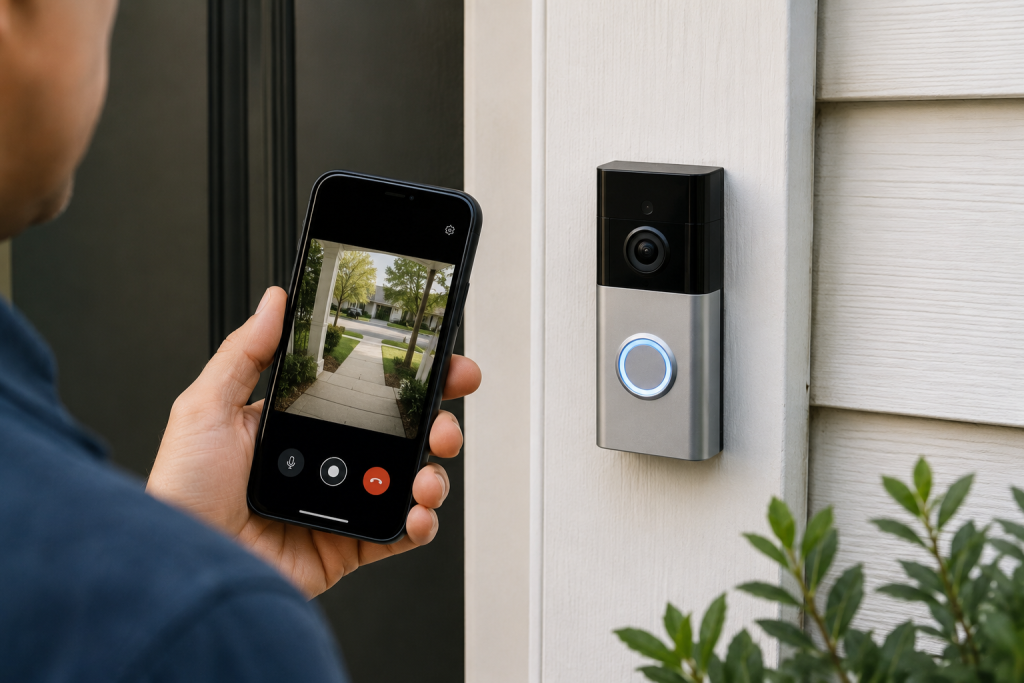
Check Power Requirements
Many video doorbells require a properly functioning transformer with sufficient voltage.
Low transformer output may cause:
- Device shutdowns
- Charging issues
- Intermittent operation
Review Manufacturer Settings
Check:
- Wi-Fi connection
- Battery status
- App notifications
- Firmware updates
A smart doorbell may appear broken when the issue is actually related to connectivity or power.
When to Call an Electrician
Contact a licensed electrician if:
- You cannot locate the transformer
- Wiring appears damaged inside walls
- The breaker repeatedly trips
- Voltage testing indicates a power issue you cannot safely diagnose
Electrical troubleshooting should always be performed safely and with proper testing equipment.
How to Prevent Future Doorbell Problems
You can reduce future failures by:
- Replacing worn doorbell buttons promptly
- Protecting outdoor components from moisture
- Inspecting wiring connections annually
- Keeping chime components clean
- Replacing aging transformers before they fail
Routine maintenance can help your doorbell operate reliably for many years.
Frequently Asked Questions
Why is my doorbell not working but the light still comes on?
This usually indicates power is reaching the button, but the chime, transformer, or wiring may have failed.
Can a doorbell transformer fail suddenly?
Yes. Transformers can stop working due to age, overheating, or electrical surges.
How long does a doorbell transformer last?
Most doorbell transformers last 15 to 30 years, depending on usage and environmental conditions.
Why does my doorbell hum but not ring?
A humming sound often indicates a stuck button, a defective chime plunger, or a transformer issue.
Is a doorbell dangerous to repair?
Most doorbell systems use low voltage, but the transformer connects to household electrical power. Turn off power before working on any electrical components.
Final Thoughts
A doorbell not working is usually caused by a failed button, loose wiring, a defective transformer, or a malfunctioning chime. By systematically checking each component, most homeowners can identify the problem and restore normal operation without extensive repairs. Start with the simplest checks first and work through the system one component at a time.