Last updated: June 17, 2026
By Home Repair Genie
Quick Answer
If your garage door sensor is not working, start by checking for dirt on the lenses, sensor alignment, wiring damage, and obstructions between the sensors. Most garage door sensor problems are caused by misalignment, obstructions, dirty lenses, or loose wiring rather than a failed sensor.
Why a Garage Door Sensor Not Working Can Be a Safety Issue
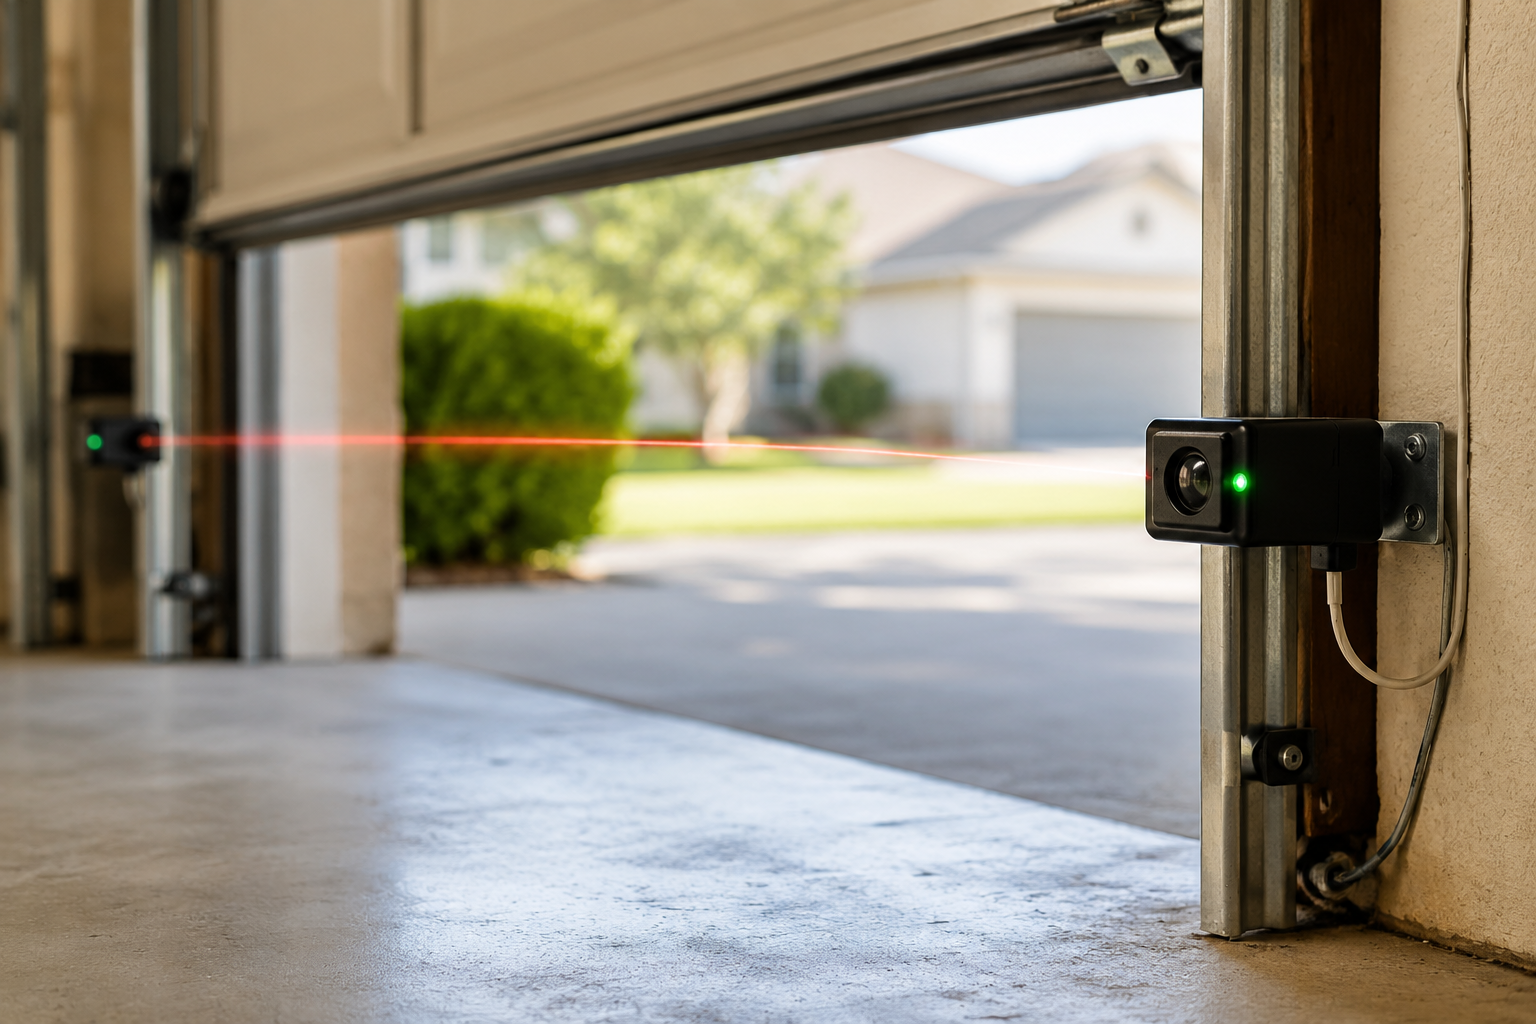
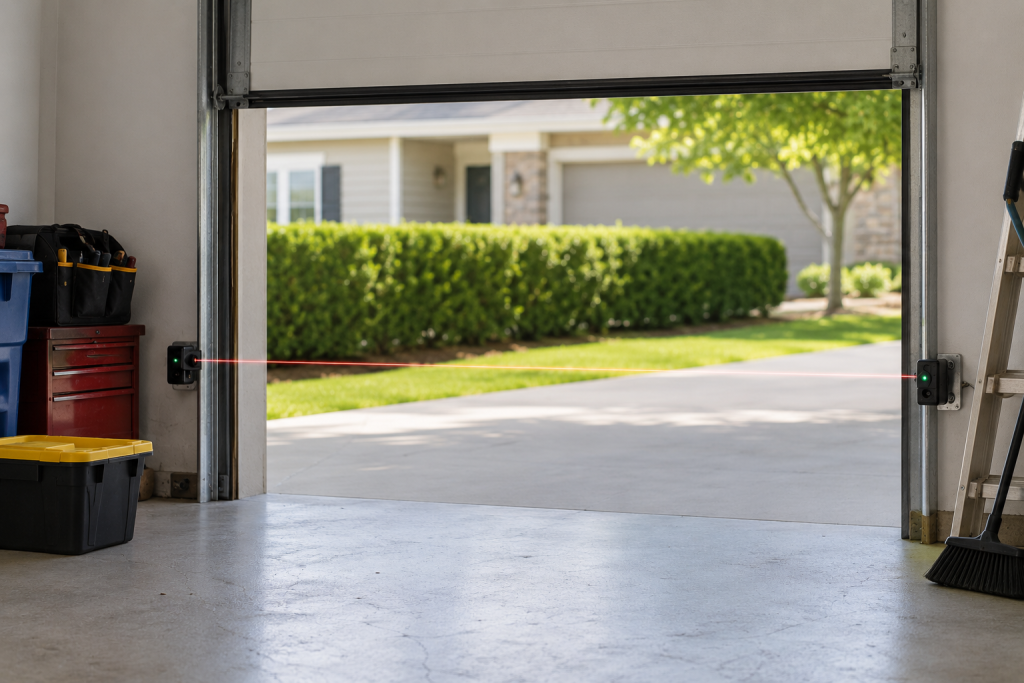
Garage door safety sensors prevent the door from closing when an object, pet, vehicle, or person is in the doorway. These sensors use an invisible beam that travels between the two sensor units mounted near the bottom of the garage door tracks.
When the beam is interrupted or the sensors cannot communicate properly, the garage door may refuse to close or reverse immediately after starting to close.
If your garage door sensor is not working, the problem is often simple to diagnose and repair without replacing the entire opener system.
Common Signs of Your Garage Door Sensor Not Working
You may have a sensor issue if you notice any of the following:
- The garage door closes partially and then reverses
- The opener lights blink repeatedly
- The door only closes when holding the wall button
- One or both sensor indicator lights are off
- The garage door will not close at all
- The sensors appear loose or out of alignment
Check for Obstructions Between the Sensors
Step 1: Remove Any Objects Blocking the Beam
Even a small object can interrupt the safety beam.
Look for:
- Trash cans
- Tools
- Bicycles
- Storage boxes
- Garden equipment
- Children’s toys
Clear the entire area between the two sensors and test the door again.
Clean the Sensor Lenses
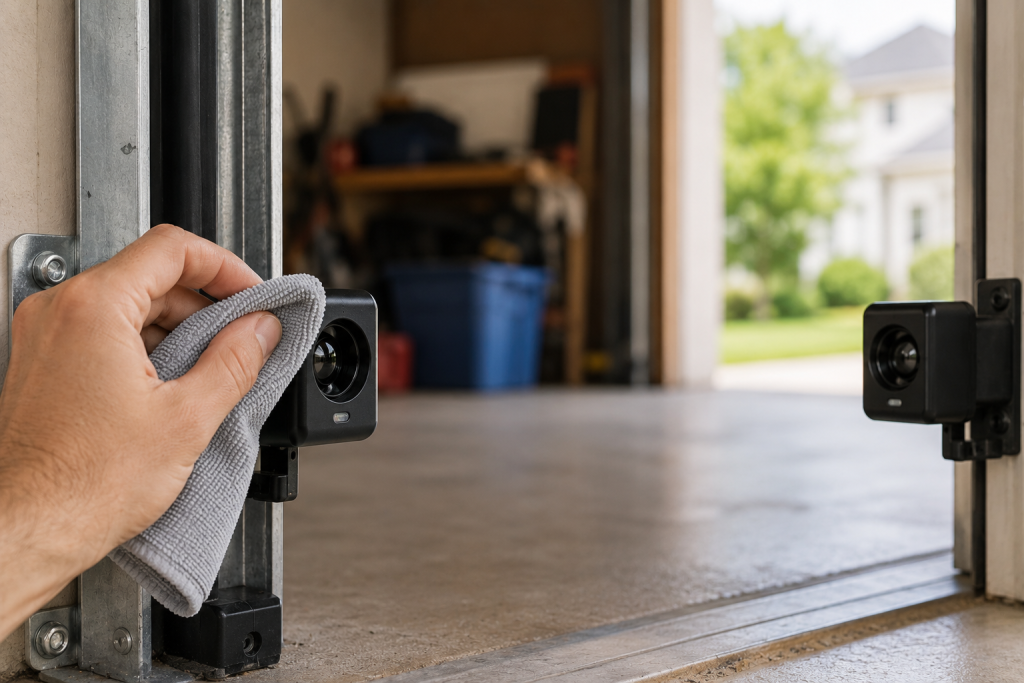
Step 1: Wipe Dust and Dirt Away
Garage door sensors sit close to the floor where dust, spider webs, and debris accumulate.
Use:
- A soft microfiber cloth
- Glass cleaner sprayed onto the cloth (not directly onto the sensor)
Gently clean both lenses and remove any visible buildup.
Dirty lenses can weaken the sensor beam and prevent normal operation.
Verify Sensor Alignment
Step 1: Check That Both Sensors Face Each Other
The sensors should point directly at one another.
Signs of misalignment include:
- Flashing sensor lights
- One light on and one light off
- Intermittent door operation
Step 2: Adjust the Sensor Brackets
Loosen the mounting hardware slightly.
Move the sensor until both indicator lights remain steady.
Retighten the mounting hardware and test the door.
Misaligned sensors are one of the most common causes of garage door issues.
Inspect the Sensor Indicator Lights
Step 1: Look for Power Indicators
Most garage door sensors have LED lights.
Typical conditions include:
- Solid green light = normal
- Solid amber light = transmitting correctly
- Flashing light = alignment problem
- No light = power or wiring issue
Consult your owner’s manual for model-specific light patterns.
Check the Sensor Wiring
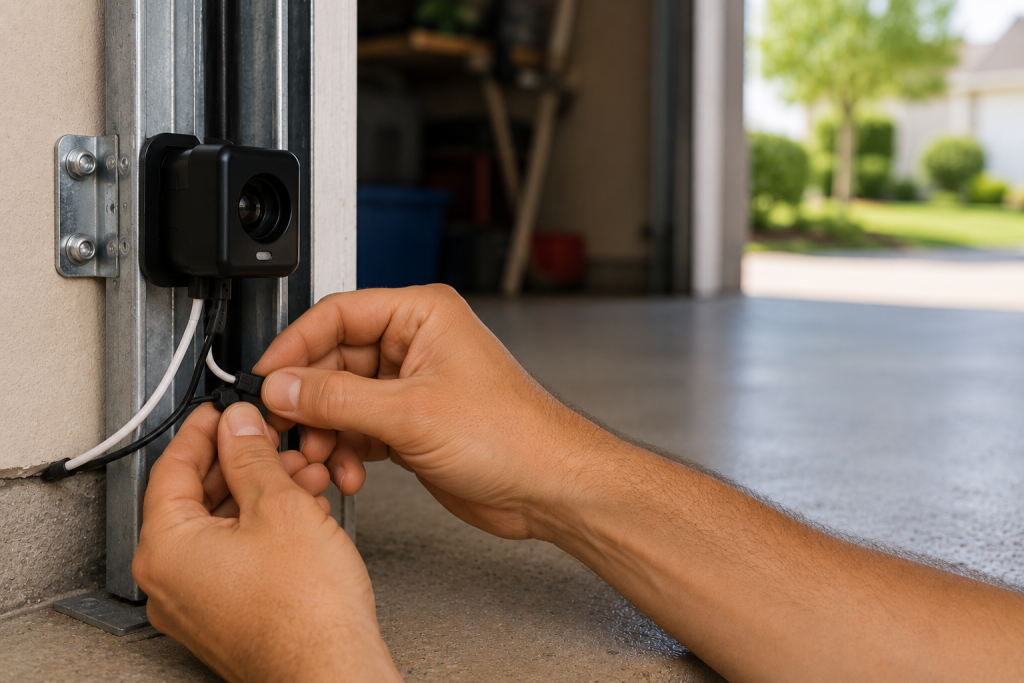
Step 1: Inspect Visible Wiring
Follow the low-voltage wires from the sensors to the opener.
Look for:
- Cuts
- Pinched wires
- Rodent damage
- Loose connections
- Corrosion
Step 2: Tighten Loose Connections
Disconnect power to the opener before working on any wiring.
Secure any loose wire terminals and reconnect power before testing.
If you discover electrical issues elsewhere in the garage, our guide on outlet not working may help diagnose related power problems.
Test for Sunlight Interference
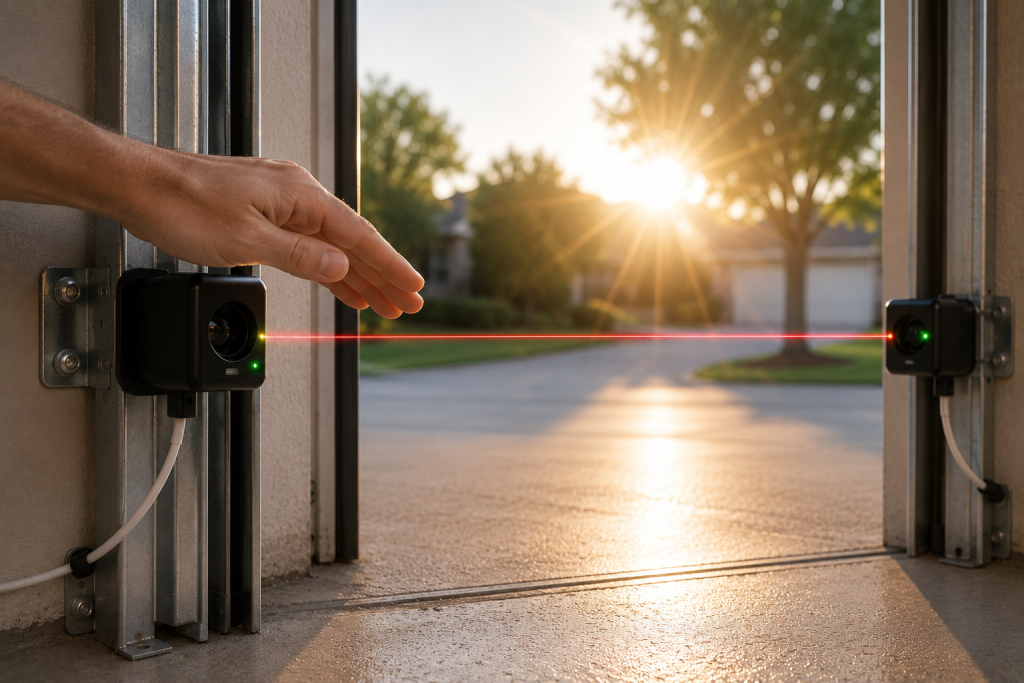
Step 1: Observe When the Problem Occurs
Direct sunlight can occasionally interfere with certain garage door sensors.
If the problem only happens at specific times of day:
- Install a sensor shade
- Reposition the sensor slightly
- Add a small shield to block direct sunlight
Many homeowners notice this issue during sunrise or sunset.
Replace a Faulty Sensor
Step 1: Confirm Other Troubleshooting Has Failed
If:
- Lenses are clean
- Sensors are aligned
- Wiring is intact
- Indicator lights remain off
A failed sensor may be the cause.
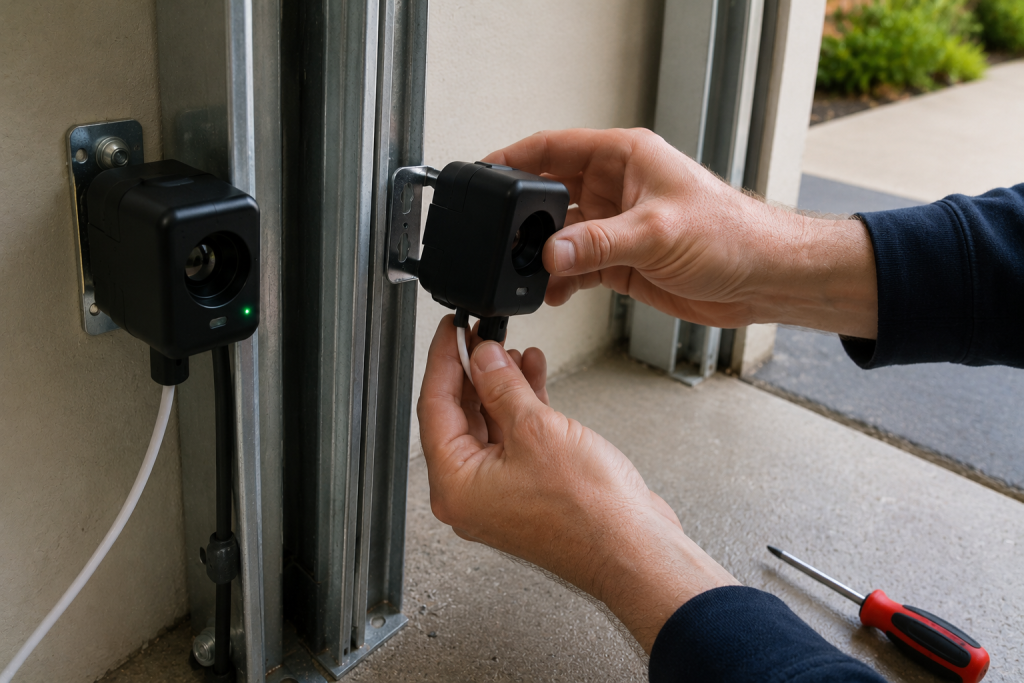
Step 2: Install Compatible Replacement Sensors
Purchase sensors designed for your opener model.
Follow the manufacturer’s installation instructions carefully.
For additional garage door safety information, visit the official guidance from the International Door Association.
When to Call a Professional
Contact a garage door technician if:
- The opener logic board may be damaged
- Wiring is hidden inside walls
- The sensors repeatedly lose alignment
- The door operates unpredictably
- You are uncomfortable working around electrical components
A professional can quickly diagnose issues that may not be visible during basic troubleshooting.
Prevent a Future Garage Door Sensor Not Working
Step 1: Clean Sensors Regularly
Inspect and clean the lenses every few months.
Step 2: Avoid Bumping the Sensors
Be careful when moving storage items, lawn equipment, and vehicles near the sensor area.
Step 3: Inspect Wiring Annually
Look for wear, damage, or loose connections before they cause failures.
Step 4: Keep the Garage Floor Clear
Reducing clutter lowers the risk of beam obstructions.
Frequently Asked Questions for Garage Door Sensor Not Working
Why does my garage door close only when I hold the wall button?
This usually indicates the safety sensors are misaligned, blocked, dirty, or disconnected.
What color should garage door sensor lights be?
The colors vary by manufacturer, but most systems display steady indicator lights when operating correctly.
Can sunlight affect garage door sensors?
Yes. Direct sunlight can interfere with some sensor models and cause intermittent operation.
How long do garage door sensors last?
Most sensors last 10 to 20 years, although physical damage, moisture, and wiring issues can shorten their lifespan.
Can I bypass a garage door safety sensor?
Safety sensors should never be permanently bypassed because they help prevent injuries and property damage.
Final Thoughts
If you have a garage door sensor not working, the issue is usually related to dirty lenses, sensor misalignment, damaged wiring, or interference with the sensor beam. Start with the simple fixes before replacing parts. In many cases, a few minutes of cleaning and adjustment is all that’s needed to restore normal garage door operation and improve safety.